Ads 468x60px

Showing posts with label justrite stamps. Show all posts

Saturday, May 24, 2014

Candy Jar Card by Diana

Hello! Diana Fisher here with you today. 

There is nothing better than bright colors on a card — it's like gifting sunshine. For today's post, I am sharing how I made this candy jar card using a Samantha Walker Silhouette file and enamel dots. 


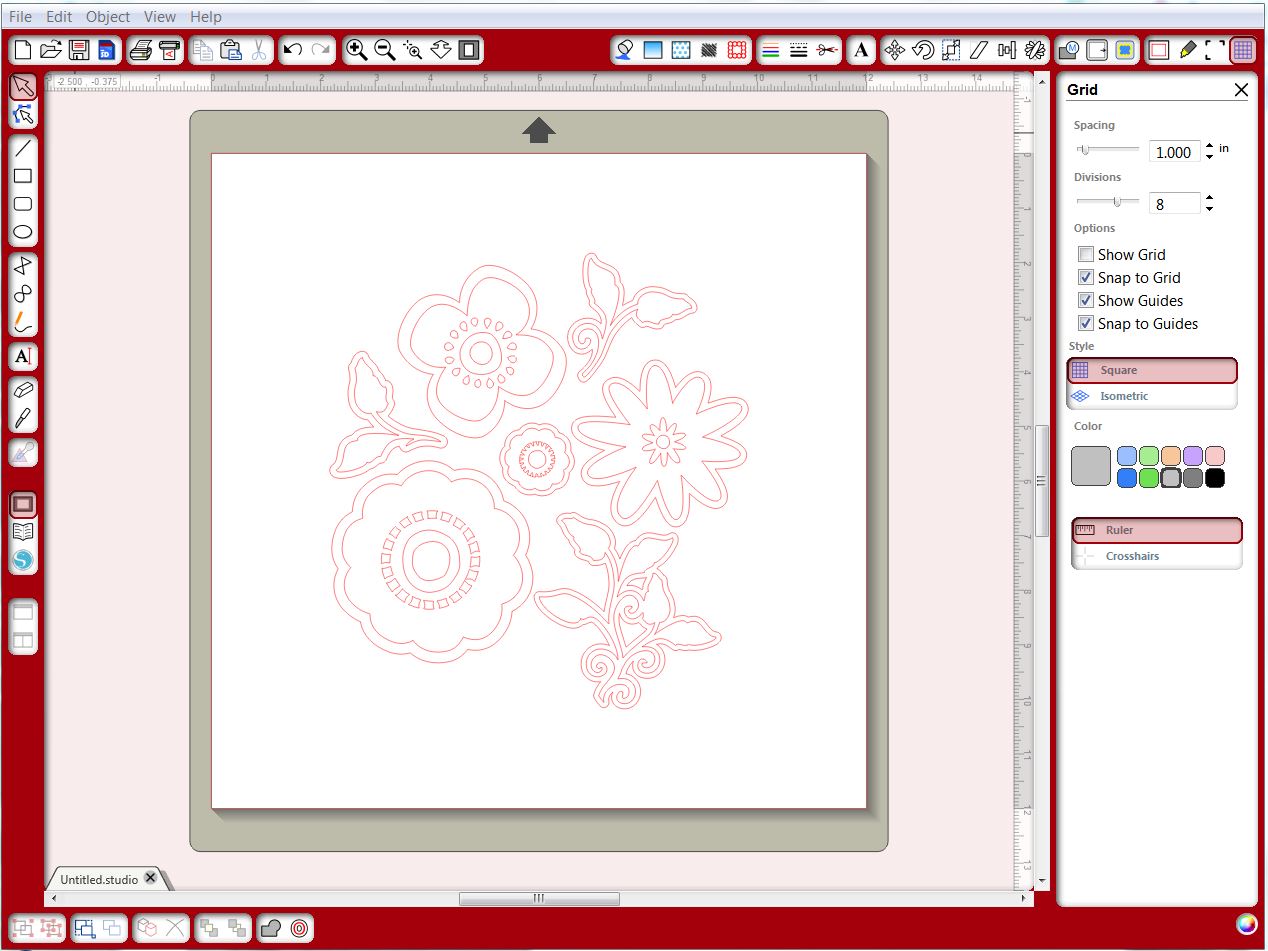
This is the candy jar as it is from the Silhouette store. Ungroup the file and delete the circle meant for the candy pieces, the little circles on the jar and the lid, and the reflection piece on the jar and the base.

Below is what you should have left for your cut file.


I used gray card stock to cut my jar and a piece of Samantha Walker's Echo Park Keepin' Cozy for the interior of the lid cut. 

Once I had jar positioned on a piece of white card stock, I began to layer in a variety of enamel dots in different colors and sizes.


The finished card is bright and cheerful. To add a sentiment, I cut a teeny tiny tag that was attached to the top of the lid with twine. The "sweet!" stamp is from Samantha Walker's JustRite stamp set called For All You Do Vintage Labels Three.


Friday, April 04, 2014

JustRite Projects and Spellbinders Sale!

We have some stunning creations to share with you today
from some of the JustRite Stampers crew!  


Eva Dobilas designed this awesome Bendy Card using the Bendy Card with Fence (#53893) Silhouette file with JustRite's Home Tweet Home Clear Stamps
Don't you just love it?  You can see more about her project here.


For all the details visit Michele's blog post.


Spellbinders CHA Winter Release dies will be arriving early next week over at JustRite and they are celebrating with a Spellbinders 25% off all Spellbinders Dies. (Please note that this sale does not include JustRite Dies).   You will find over 55 new die additions to their website assortment!  Just click HERE to see more!

Tuesday, March 18, 2014

Signs of Spring - Flower Tutorial with Nicole

Here in Utah there are signs of spring everywhere!  The daffodils in my neighbors yard are in full bloom, the grass is turning green, and best of all the days are starting to warm up.  I've been bringing the spring into my crafting as well.


I wanted to make a card with some daffodils and chose Samantha's flower 5 to create a daffodil looking flower.  I opened it up and placed several of the base and the centers on my mat in Silhouette Studio.  I then brought in just the grass from the Easter Bunny file.  


I placed all my cardstock on the mat and hit cut.  I slowed down my machine just a touch from the textured cardstock setting since the cuts on the flower centers are tiny.  The Cameo is amazing and cut them out perfectly!


I then added a little texture to my petals and flower center by curling them up.  The centers are so tiny that I used the end of a colored pencil to help.  
I then took orange chalk ink to ink the edges. 
 I assembled all my flowers with small dots of glue.  

Here is my finished card.  I just love the added dimension these small flowers create.   


 Supplies Cut files:  Flower 5 and Easter Bunny (links below); Pattern Paper: Carta Bella; Stamps: JustRite; Vellum: Darice; ink: Martha Stewart (chalk ink) and Tsuikeniko; cardstock:  Bazzill; embroidery floss: DMC


Hope you are starting to see the signs of Spring wherever you are, Happy Crafting!

Tuesday, October 22, 2013

Jack-O-Lantern card by Maya

Hello Samantha Walker fans! It is Maya here today. I am going to show you how simple is to make beautiful Halloween card using Samantha Walker cut files. 

While my older kids showing less interest in Halloween, by 5 years old is becoming fascinated by this spooktacular holiday. His favorite thing right now - jack-o-lanters!.  I picked this gorgeous design from Samantha Walker Silhouette online store


The design itself is so pretty that I didn't want to add anything else.

That is how it looks like in Silhouette Studio. I cut the card itself from orange cardstock and the square from black glittery cardstock.

I used few pieces of sticky tape to adhere the black square behind the card front.

The card is about 5.75" x 5.75". I used the envelope cut file to cut the matching envelope.
 

I omitted the liner that came with the envelope and instead stamped "Eek" using a stamp from "Boo-tiful Cameos Clear Stamps" set by Samantha.


This card looks adorable on a smaller scale as well. I scaled it down to 80% and cut the card from dark orange glittery cardstock. 

The final size is 4 5/8" x 4 5/8"

Here is the original version and the smaller version side by side with matching envelopes.
Links to products used in this tutorial:


Thanks for stopping by! 
Maya

Saturday, October 19, 2013

Boy Card by Daniela Dobson

Good Morning!  Daniela with you today to share a fun boy card 
using lots of Samantha Walker goodies...

Samantha Walker products:

1. Using a chevron stamp from Pattern Basics, stamp on the glassine bag using VersaMark ink. Heat emboss using embossing powder. Do the same thing with the sentiment using black embossing powder. 


2. Layer two different pieces of patterned paper on the cardstock base. Adhere the glassine bag, and different chipboard elements. Add sequins to the card front. 


Thank you for stopping by today and let me know if you have any questions.

Sunday, September 22, 2013

Using pattern stamps on layouts with Maya

Hello Samantha Walker fans! 

This is Maya and today I am sharing with you few ideas how to use pattern stamps on your layouts.


My son Eli came back from his first day at school with big paper star that he absolutely loved. I wanted to use stars on the layout and found them in the JustRite Pattern Basics stamp set by Samantha.


I used the stars and the tickets stamps.

I stamped rows of stars on a scrap of silver paper and cut them apart. They will be the background for the picture.

The tickets stamp is one big stamp with three rows of tickets. I wanted only the top row so I stamped the tickets pattern twice on a piece of red cardstock and cut off the top row of tickets. I than stamped them again on the back side of the paper strip. 

I colored some of the stars with metallic blue marker. "Remember" tag is cut out of "Giddy Up"  patterned paper, mounted on a piece of dark blue paper and cut out again.

I wrapped the ticket strip around small pencil and used it as a base for the title.

This stamp sets coordinates perfectly with the "Giddy Up" boy collection that I used to make this layout. Thank you for stopping by and I hope I inspired you to take out those pretty stamps out of their packages and just use them!

Tuesday, September 17, 2013

Flower tag by Daniela Dobson

Hello, Daniela here with a tag.

Samantha Walker products:

1. Open 4 flower pack in your Silhouette Studio. Click on the designs to select them and right click to ungroup. Be very careful now since all the pieces are separated.


2. I selected the right flower and the leaves below, right click and cut. Open a new document and right click and paste. Once you are here, in your new document you can separate all the elements. I resized them to 2.25". Make sure you select all the elements and resize them all together so everything is the same size. 


3. Once all the pieces are cut, from white cardstock, color the flowers and leaves with watercolor paint.


4. Once the flower are dry, stamp them using Leafy Background stamp. Using light color ink adds little more dimension and texture to the flowers. 


5. Make a tag from patterned paper and ink all paper edges. Add other embellishments. Layer the flowers together with leaves and other elements. 


6. Add ribbon to the tag, twine to the flower and pearls to the tag.

Thank you for stopping by today!
Here are some supplies that you can use to make today's project, and other fun stuff.
 
Related Posts Plugin for WordPress, Blogger...