Hi everyone! Linda here from www.paperboutiquewithlinda.com. Are you looking for a last minute holiday gift? Be sure to check out Samantha’s box with round handle. It only took me minutes to make!
The fun thing about this box is that you do not need glue or adhesive to assemble it. I used adhesive on the panels and snowflake, but if you want a really quick box, you can leave off the panels and added decoration. You can purchase her box file (ID# 50520) and her snowflake file (ID # 38926) from the Silhouette On-line Store.
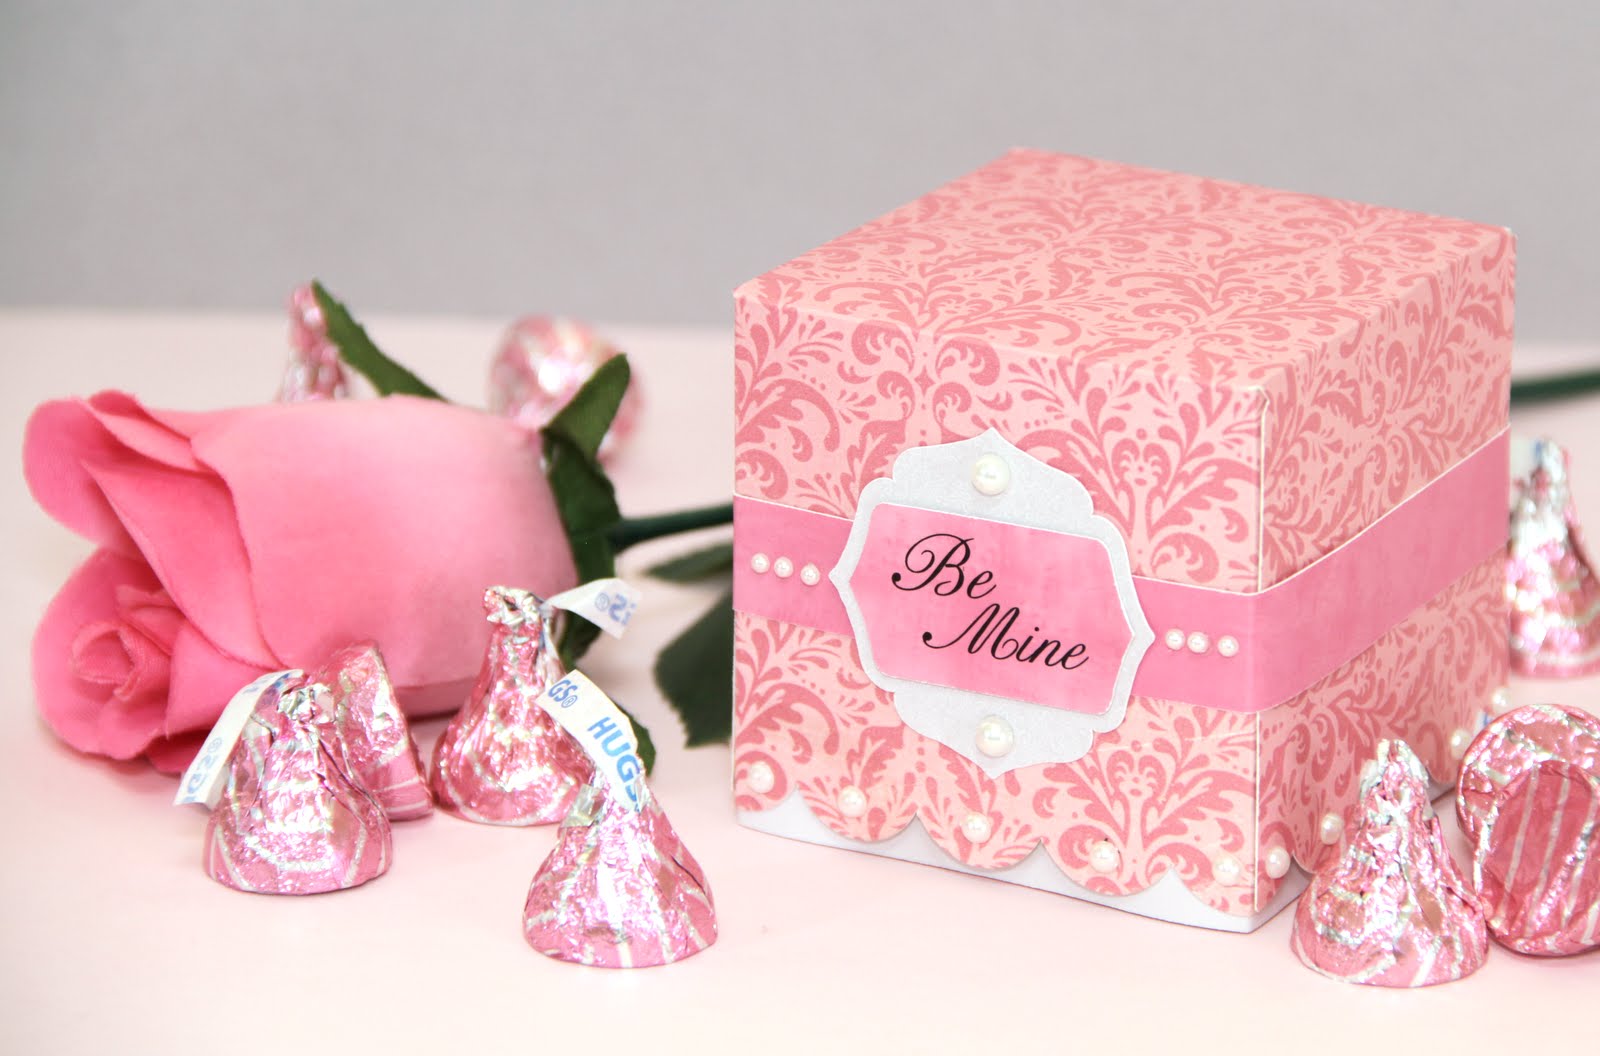
This adorable box would be great for any occasion and also makes a fun party favor. I filled mine with Dove Chocolates...yum! For assembly details, please watch the following video!
Thanks for visiting and have a wonderful holiday season!
Linda
Here are some supplies that you can use to make today's project, and ideas for filling favor boxes:
Linda has a video tour of this adorable mini album that she made using directions from Kathy Orta’s book. Be sure to stop by The Paper Boutique to see more and enter to win Linda's giveaway too!
The fun thing about her stamp set is that you can change sentiments to fit your needs. I had so much fun making different sentiments that I just had to make a video to show you her amazing box, stamps and matching dies. They are so easy to use.
Please watch the following video for more information on how to use Samantha’s digital paper with your Silhouette machine and how to do a printer's bleed so your print and cut designs come out perfect every time.
Have a wonderful day!
Linda Here are some of the supplies used to make todays project, and other fun stuff!
This tote will hold all sizes of wine bottles, but I also designed it to hold a bottle of sparkling cider. Soda or juice cans also fit. You could also use this as a gift tote and add a pair of cute sunglasses, a bottle of sparking water and sunscreen. It is so versatile.
Samantha Walker’s papers work perfectly for this project. Isn’t the tag adorable? I used her
Today we would like to introduce you to Guest Designer, Arin Flynn!
Hello and a happy Thursday to you! My name is Arin from A Piece of Life's Pie and I am thrilled and honored that I have been invited to be a guest designer for Samantha Walker! Ever since I have been working with my Silhouette Cameo, I unknowingly gravitate towards Samantha Walker cuts and paper, so having the honor to actually be here today makes me want to break out in my happy dance!
What I am going to share with you is two 3D projects that I just had to sink my creative teeth in when I saw them. The first project is a fun and whimsy vintage inspired bird house home decor. This project was so fun and easy to make and it sure adds a touch of spring to any room or outside patio it is displayed in
Supplies:
Step 1: Prep Branch Drill holes at each end of branch and paint. Once dried, sand to distress.
Step 2: Cut and assemble bird houses - There are three different bird houses used in this project. Keep all bird houses at "stock size". The steps below apply to all three bird houses, therefore only the three story bird house will be shown.
Leave size as is and "ungroup". Move perch and roof off page. Group house and cut house on a 12x12 sheet of designer paper.
Move house off page and move roof and perch back on mat and cut.
( Please note, when cutting the Love Bird Mailbox, be sure to delete mail slot before regrouping image)
When making the perch, be sure you first add a little glue to the paper before you roll it. Also be sure to be aware of the hole size it needs to fit in.
Step 3: Prep Fabric: Using a variety of fabric, cut 8 strips at 1 inch wide and 10 inches long.
Step 4: Assemble bird houses to branch: First attach 24 inches of hemp cord to the branch by threading the needle through the hole and then warping the cord around one end of the branch. Do this on both ends. Bring together at the top, make sure level and tie off. Trim any excess.
Attach the bird houses to the branch evenly spaced by wrapping and securing them to the branch.
Attach the fabric to the branch using a slip knot, looping around the branch.
For the next project, I had so much fun making these 3D bottles that I had to make a video to show you all how to construct the them! The Samantha Walker flower cuts really finish the project! These bottles are such a great idea for adding some "Ooh lala" effect to a little gift or treat.
Supplies List:
Samantha Walker Silhouette File: Flower(Cut twice, once at stock image and once at 2.5 inches)
Samantha Walker Silhouette File: Flower Spiral Peony Bud(Cut twice, once at stock image and once at 2.5 inches)
Samantha Walker "Paris Girl" - Carta Bella Designer Paper
Bone Folder
Quick Dry Adhesive
Hot Glue
Beads
Fishing Line
Twine
Close To My Heart Ribbon
A quick run down of final assembly of bottles: The flower cuts are rolled and set with hot glue. Once the bottles are assembled, tie decorative ribbon around the neck to cover the twine that is securing the bottle neck. Sting decorative beads of choice onto fishing line or like material and attach to the decorative ribbon and attach the flowers using hot glue.
It has been a pleasure to be able to share these two projects and you can find another fun Samantha Walker project over at my blog today! I hope that they inspire you and snag yourself some Samantha Walker 3D cuts and see what you can come up with!
A big "Thank You" to Arin for sharing her projects with us today!
Be sure to stop by Arin's blog to see more of her fabulous creations!
Hi everyone! I am Linda from Paper Boutique and I am so happy to be here today. Let me start by saying, I love Samantha Walker’s intricate designs from the on-line Silhouette store. In today’s video tutorial, I will show you how to make this card and envelope using Samantha Walker’s files, Silhouette Sketch pens and my Cameo.
This card is made using Samantha’s A5 Peacock lace card, her Happy Day Sentiment from the Silhouette on-line store and the blue metallic sketch pen. I love the intricate design.
For the envelope I used her butterfly lace envelope also available at the Silhouette on-line store and the blue metallic sketch pen from Silhouette.
In today’s video I will show you how to use the Silhouette sketch pens to make a card and envelope. The techniques will work with other images too!
Hi everyone! I am Linda from Paper Boutique and I am so happy to be here today. I love Samantha Walker’s designs from the on-line Silhouette store and her amazing digital papers. In today’s video tutorial, I demonstrate how to use Samantha’s digital paper with your Silhouette Cameo and how to make this cute card. On the video, I also demonstrate how to do a printers bleed so your print and cut designs come out perfect every time!
I love the versatility of this design. All you need to do is change the paper and sentiment and you could use this card for almost any occasion!
I used Samantha Walker’s Blossom Mega Kit for my project.This mega kit contains 8 textured solids, 8 floral themed papers in Pink tones, 9 floral papers in oranges and browns, and 8 deliciously sweet floral themed digital papers in the aqua tones. It also contains 140+ Blossom elements. In addition to the regular versions of the elements, there are embossed versions of most of the elements as well. I used the pinks, but can’t wait to use the aqua tones.
Earlier this week Samantha introduced her new Hat Box cut file into her Silhouette store and today we are going to show you how to cut and assemble the box and lid!
We have a video below that will go through all of the steps, but we wanted to highlight the cutting steps below as well so that you can see the images at a larger scale.
--------
After you download the Hat Box cut file, you will have to move the file around on the Silhouette mat to cut. The next few photos will take you through that process. First, you will begin by cutting the Hat Box bottom by moving top circle shape to the mat area as shown below:
Next you will need to move the two large side wall
pieces to the mat area to cut.
Then you will cut the remaining side wall piece as well as the lid sides by moving these pieces to the mat area:
To cut the top piece of the lid, move the bottom circle shape in the mat area.
Lastly, move the scallop pieces to the mat area and cut.
Once you have all the pieces cut, follow the instructions in the video below.
If you have any questions please feel free to leave them in the comments below and we will respond as we are able! And as always, we would love to see what you create so please link us up through the comments here or through our Facebook page!
My blog is supported by sponsors and affiliates. If you decide to make a purchase through my affiliate links, I am paid a small commission for it. This doesn’t cost you anything additional. These commissions help to keep the rest of my content free, and allow me to blog more often.
From time to time I make recommendations of products that I love to use, or products that I have designed. Occasionally, manufacturers send me products to play with. They have not obligated me to show them on my blog or review them. I only make positive remarks about those things that I truly love and enjoy to use. Everyone's personal experience with various products may be different, as we all use things in different ways. I am not compensated for these remarks, and merely pass on my opinion to you as a reader. I hope you find my opinions valuable.


 Supplies:
 Step 2: Cut and assemble bird houses - There are three different bird houses used in this project. Keep all bird houses at "stock size". The steps below apply to all three bird houses, therefore only the three story bird house will be shown.


 Step 4: Assemble bird houses to branch: First attach 24 inches of hemp cord to the branch by threading the needle through the hole and then warping the cord around one end of the branch. Do this on both ends. Bring together at the top, make sure level and tie off. Trim any excess.


 Supplies List: