Ads 468x60px

Showing posts with label Boxes. Show all posts

Tuesday, October 22, 2013

Silhouette Tutorials: Handle Box, Round Top Box, Scalloped top Box

Today I'm going to show you how to assemble a grouping of great boxes for small gifts, and treats.
These boxes can all be cut on either the Silhouette Cameo or the Silhouette Portrait.

Please note that these boxes may not be immediately available in the Silhouette store. They have been uploaded to the queue, and will be made available as soon as they go through the approval process. (this usually takes a day or two.)

The first box, a round handled take out style box, is pretty simple. It's glueless if you decide not to add the contrasting panels.
 First cut the design from double sided coordinating card stock. I used textured card stock from my Paris Girl collection for Carta Bella.

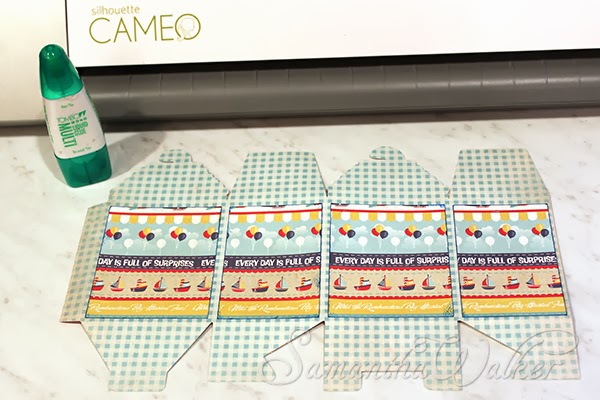
 Glue the panels on as shown above. Use a paper friendly glue that won't wrinkle the paper like Tombow mono adhesive.


Crease the box folding the corners inward.
Bring the box together.
Grab the handles together, then insert them into the side slots. That will hold the box together without glue.

The next box is also quite simple. There are optional contrast panels to add to the box. I used double sided card stock from my Rough and Tumble Collection for Carta Bella Paper.

First crease the box, folding all panels inward. Then start connecting the bottom of the box by inserting the triangular tabs underneath the "u" shaped bottom panel.

Tuck the triangular tab under the "u" panel.
Tuck the next triangular tab under the "u" panel.

Take the last bottom panel and tuck the tab into the slot that has been created on the bottom.

Glue the side tab to close the sides of the box.
Curve the two straight panels at the top.


Interlock the half moon tabs at the top of the scalloped panels to close the box.

The next box I'm going to show you how to make is a round top box with a scalloped feature at the top. I used double sided solid card stock from Carta Bella, and zig zag double sided card stock from my Cool Summer collection for Carta Bella.
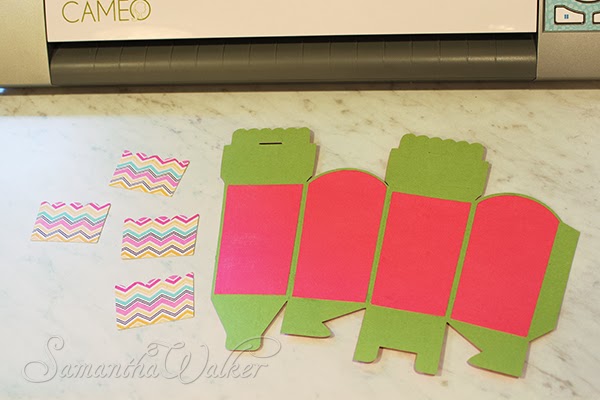
 First glue the optional panels on the box.
 Then glue the decorative scalloped panels over the other panels. Crease the edges to make sure the glue seals all the way around.
 Fold all the sides and panels inward, except for the top scalloped tabs, fold those outward.
 Fold the bottom of the box the same way as the steps above.


 Glue the side tab to close the sides of the box. (sorry...forgot to photograph that step.)
 Run a ribbon through the slots in the scalloped tabs at the top of the box.
 Tie a bow, and trim.

Hope you can find many uses for these easy to make boxes.
Happy Crafting!

Samantha Walker


Sunday, February 24, 2013

Egg Box Tutorial By: Aimee Maddern

Aimee here to show you how to but the 3d egg boxes together!
You can also go to this tutorial here for multiple ideas on how you can close these boxes.
You can really do so much with these eggs. 
Fill a jar, string on lights or use as a garland. fill a basket or add to a wreath.


 Here is a picture of all the eggs I made folded and ready to be glued.


My adhesive of choice is glossy accents.
 I like that you need very little, it’s strong, long lasting and dries very quickly.

     Cut eggs from cardstock
 I copied and pasted an additional egg so I could get 2 eggs from 1 piece of 12x12 card stock


 To fold the egg, start by folding the top crease lengthwise. 
{Some of the eggs are really delicate, and by doing this step first helps the egg from tearing}


   Fold bottom crease lengthwise
 Here you can see I have both creases folded lengthwise


  Fold over the creases at the top of the egg 


     Fold creases at the bottom of egg

    Fold the crease where each egg is connected


  Once all crease have been folded you are ready to put the box together

     The end of the egg has tabs, fold there crease, and insert the tab into the slot provided


 Once egg has been connected at the end to from a box, glue the top creases together. 


Hold for a few seconds while glue dries
You now have a completed egg


Embellish with ribbon, glitter etc. depending on the use of your egg


 thanks for joining me today


Get Amazon Prime Membership! Enjoy Free 2-day Shipping on Prime products, plus access to Free digital content like videos, books, and more!
Related Posts Plugin for WordPress, Blogger...