Ads 468x60px

Showing posts with label svg. Show all posts

Tuesday, December 30, 2014

New Years Eve Candy Wrappers by Christine

Are you looking for a last minute favor to add to your party tomorrow night?  How about some of Samantha's paper candy wrappers?  Today I am going to share with you the ones I created:


I used the Candy Box (#50803) and some gold cardstock to create these.  


The gold paper I had was 8 1/2 X 11" so I sized my box down to fit in that.  Otherwise you can make your candy boxes even bigger!


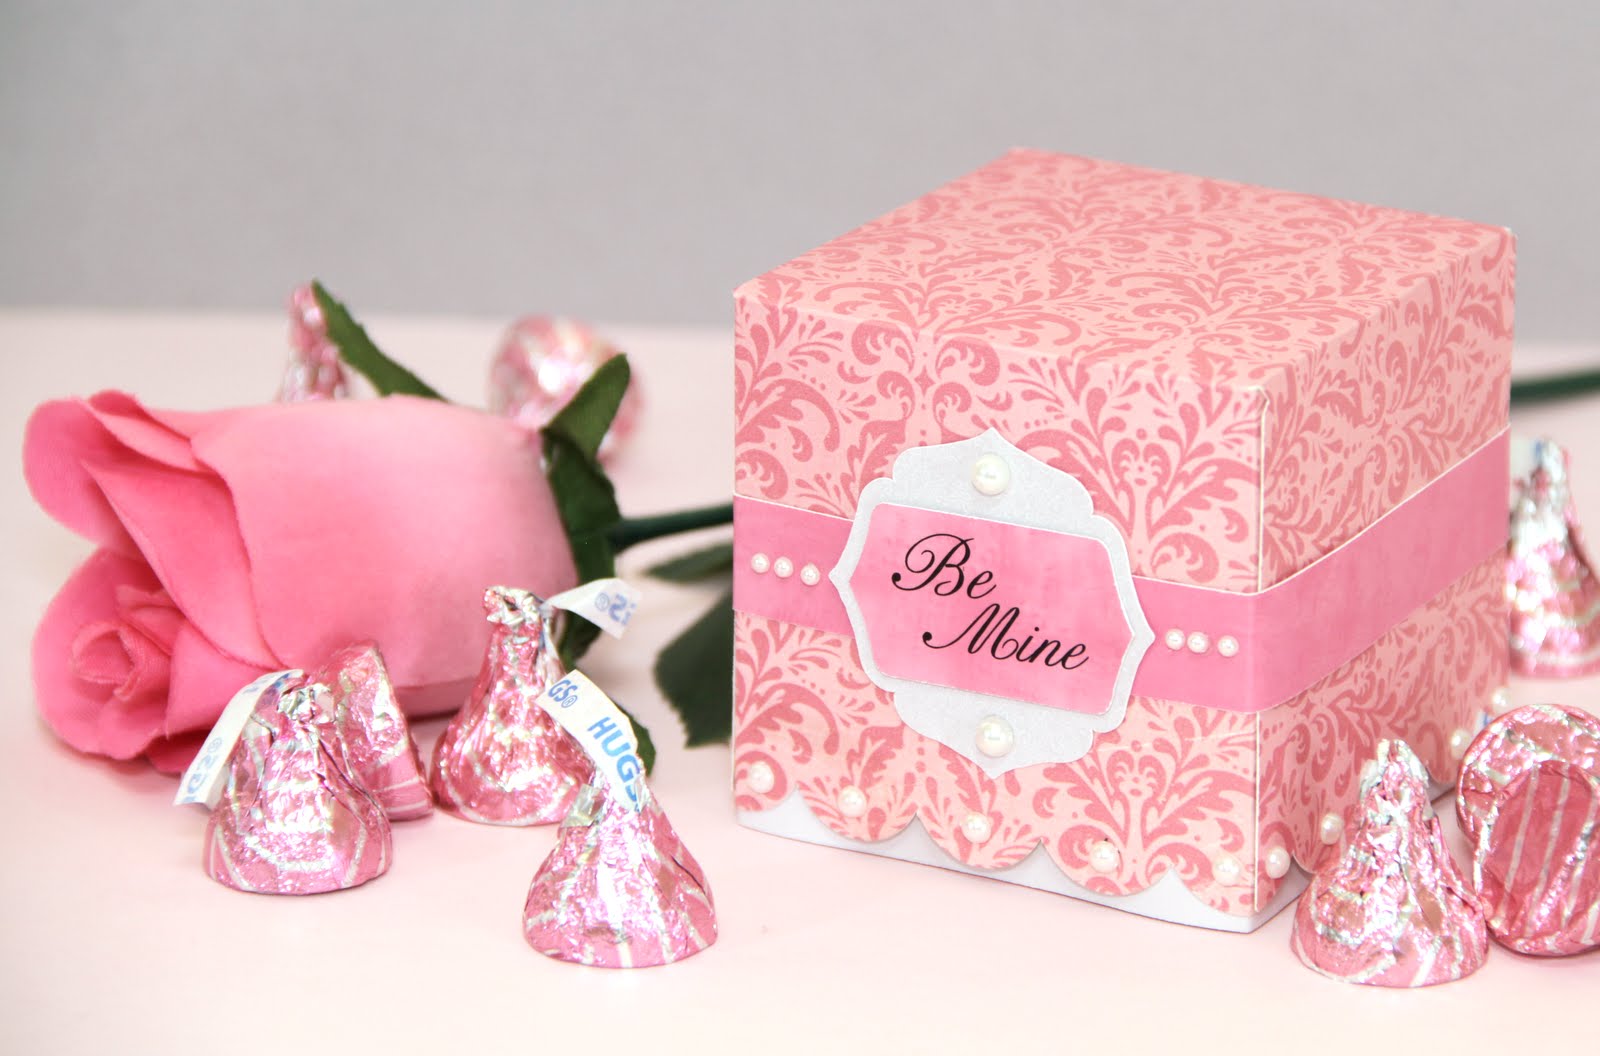
You can find Samantha's full tutorial for putting these together here.  Samantha used patterned paper on hers.  Since I used solid cardstock I added some 2015 stickers to mine!  I also filled mine up with 15 Hershey kisses - perfect to ring in 2015 with!  

Thanks for joining us today and Happy New Year!


Saturday, February 09, 2013

Samantha Walker’s No Mess Scalloped Cupcake Box and How to Make Double Sided Paper

Hi everyone! I am Linda from Paper Boutique and I am so happy to be here today.  I love Samantha Walker’s designs from the on-line Silhouette store and her amazing digital papers.  In today’s video tutorial, I demonstrate how to assemble Samantha’s No Mess Scalloped Cupcake Box.  I also demonstrate how to make double-sided digital paper using her gorgeous Paris Girl Digital Collection.


I love the versatility of this design and what a cute Valentine’s gift!


I just love Samantha’s Paris Girl Digital Collection.   Be sure to watch the video below to see how I made the double-sided paper for the box.


You can use the cupcake box with or without the insert. This adorable box also works for brownies or other treats. Yahoo!  Hope you enjoy the video.


Have a wonderful day!

Linda

Saturday, January 19, 2013

Love card - Tutorial by Daniela Dobson

Hi, Daniela here with my first blog post. I created a card using non-card items. Let me show you how.


Here are the Samantha Walker products I am using today:
12 piece tag set
                                                                   
1. Open 12 piece tag set in your Silhouette Studio and ungroup all the elements.


2. Select the left lower tag and copy it to a new window. Delete four small circles (holes). 


3. Move the center circle to the right side and make a duplicate of that circle below the original circle. Using the up arrow key nudge the bottom circle to the top one so that they overlap slightly. Select both circles, right click and weld. This is going to be your card and it should fold nicely in half.


4. Open Pair of hearts box and ungroup all the elements. 


5. Copy only the heart and paste it to the window where the card is. Position the hart on the bottom half of the circle. Select circle(s) and the hart and go to the align window and click align center. Right click and make a compound path. 


6. Resize the elements as you need them. My card base is is 4.5" and the inside circle is slightly smaller. Open Washi tape wordstrips  and use the one that says "love".


7.  Cut all the elements, including another circle slightly smaller than the card front. 


8. Paint the bottom of the card (where the heart is) with Calkboard paint. Let dry. 


9. Add adhesive to the circle insert adding extra adhesive where the heart opening is. I used iCraft Adhesive. Adhere to the inside of the card. 


10. Add flower soft to the heart opening. 


11. Adhere the circle card to the green card base. Adhere jute with a flower. Adhere Love wordstip with foam adhesive. Write "you" with chalk. 


If you don't have Flower Soft, you can use glitter or flock. 

Thank you for stopping by today and let me know if you have any questions.

 
Get Amazon Prime Membership! Enjoy Free 2-day Shipping on Prime products, plus access to Free digital content like videos, books, and more!

Tuesday, December 18, 2012

Ornament Box Tutorial

Good afternoon!  Jamie with you today to share a quick tutorial for the Samantha's Ornament Box!

 Tutorial:
 1.  Cut out the Scalloped Ornament Box and fold on all the score marks.
 2.  Place a strong adhesive tape along the left edge.  
      Optional: Cut a large scallop to fit outside the window and adhere.  This piece is not 
       included in the file.
 3.  Fold the box over and adhere the left edge, pressing firmly.
 4.  Form the bottom of the box, fold the large piece in as shown.
 5.  Fold in one of the side pieces and tuck under the large piece.
 6.  Fold the second side piece in and tuck under as you did above.
 7.  Tuck the final flap down into the larger piece.
 8.  This step is optional.  I placed adhesive on the sides of the ornament 
      base to hold it in place.    
 9.  Place the ornament base in the bottom of the box as shown.
10. Gather your ornament.
11. Place the ornament inside the box.
12. Insert the second holder inside the box, placing the ornament tip in the 
     cut out to hold securely.
13. Fold the two side flaps in and tuck the top flap into the box as shown.
14. Cut the 3D Flower in a coordinating cardstock.
15. Place a foam adhesive in the center of the largest flower.
16. Adhere the next largest flower in the center and then place foam adhesive 
     in the center of that flower.  
17-19. Repeat step #16 until all flower pieces are adhered.
20. Tie a bow on the box and adhere flower as shown.


You can find this Ornament Box and others by clicking on the images below:

Silhouette Store:


Thanks so much for stopping by today!

Friday, December 07, 2012

3D Ornament Tutorial by Jamie Cripps

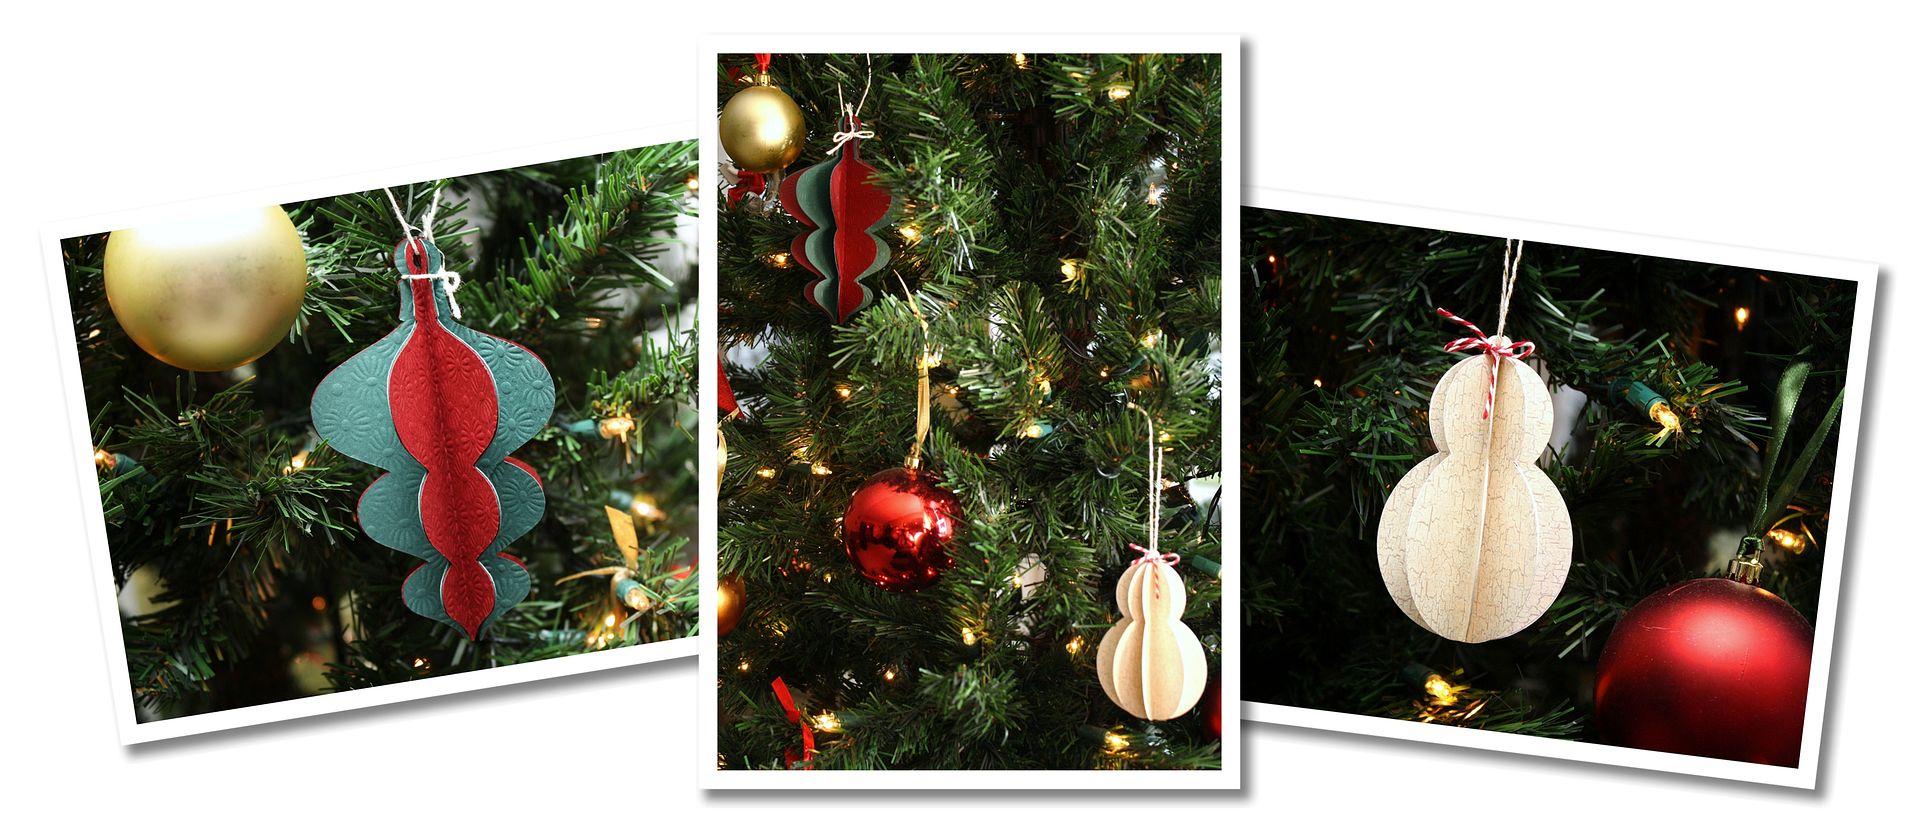
I love creating 3D projects and today I am going to walk you through two of my most favorite Holiday Ornaments!  These are perfect for packages and look fabulous hanging on the tree!  What is even better is that these Holiday Ornaments can be cut digitally which makes them super quick!


I am going to start with Samantha Walker's 3D Snowman Ornament!
1.  Cut out the 3D Snowman Ornament on cardstock of your choice.
2.  Fold each cut on the score mark.
3.  Take a set of four and set the others aside for now.
4.  Place adhesive on one side of each snowman cut.  Adhere two of the scored sides together.
5.  Add in the other sides the same way until all four pieces are together.
6.  Grab your other set of four and add adhesive on one side of each of the snowman cuts like you did above.
7-9. Continue to adhere the scored sides together until all pieces are gone.
10.  Your finished snowman should look similar to this photo.
11.  Add in twine or ribbon to hang.


Next I am going to be putting together the 3D Ornament 
using two different cardstock colors and add some embossing!
 1.  Cut out the 3D Ornament on two different cardstock colors of your choice.  You can also use the same color cardstock for a solid ornament.
 2.  Fold each cut on the score mark.
 3.  Gather the Sea Flowers Grand Impressabilities Embossing plate.
 4.  Take a set of four ornament cuts and unfold them and place them on the  embossing plate.
 5.  Place the tan embossing mat on top of the ornament pieces.
 6.  Then place the pink B plate on top.
 7.  Run your "sandwich" through the Grand Calibur.
 8.  Crease the ornaments so the embossed side is in the inside.
 9.  Repeat steps 4-8 with the other four ornaments.
10. Your ornament pieces should look like this.
11. Place adhesive on one side of each ornament cut.  Adhere two of the scored sides together.
12-16.  Add in the other sides the same way until all the pieces are together.
17.  Your finished ornament should look similar to this photo.
18.  Add in twine or ribbon to hang.


Have you made any 3D Ornaments this year?  
We would love to stop by and see, just link us up in the comments!

Thanks so much for stopping by!

Thursday, July 19, 2012

A Little Fabric Purse by Mandi Miles


Hi! Mandi Miles here.  I didn't really have any plans in mind when I got Samantha's purse cut file and started working on a project. I cut and assembled a quick paper version which my girlie promptly grabbed and destroyed in her play. She then proceeded crying for another purse. Hmm... the last thing I wanted to do was cut loads of paper purses that would last 5 minutes. Tops. I mean, the girl is three. So, fabric. It would have to be fabric. And tough. I had picked up some Heat-n-Bond a while back and was wanting to try cutting fabric anyway [I'm still learning how to use this cutter of mine :)], perfect. I love it when I have the supplies on hand!
Here's a bit of a tutorial:

1. Heat-n-Bond. It worked beautifully with the Silhouette Cameo, and I love that I can pick it up at Wal-mart or the local craft/fabric store.  I used the Heat-n-Bond Ultra because I knew I wouldn't be sewing. If you'll be sewing you'll need the Heat-n-Bond Light. Just follow the directions on the package for whatever interfacing you'll be using and prepare two 12 x 12 coordinating blocks of fabric. 

2. I always do a test cut and I realized that, as with most projects I've done, the settings indicated on the Cameo didn't quite cut it. So, for those of you with a Cameo, the settings I used are Speed: 5, Thickness: 33, Blade: 6, and then check cutting mat and double cut. I always do a double cut. It takes longer, but the end results are always better. Cut the first block using the pattern as is. Cut the second block to mirror the first. On the Cameo you do this by going to Object > Transform > Flip Horizontally.

3. With wrong sides together [the ones with the interfacing] use an iron on the settings indicated for the interfacing and line them up nicely and press the two cut purses together

4. Assemble the purse. I used my handy dandy glue gun to hold it together. Fabric glue may work as well, but I like the glue gun because I don't have to hold the pieces together forever while it dries.

And that's it. Embellish as desired. I made a flower using Samantha's Spiral Flowers cut file. I also had to make a fabric covered button for the center because I just may be the only crafter on earth who can't make spiral flowers...

My girlie loves this. She wants more. 

To see more of Mandi's work, visit her blog PurdueAvenue.com!

Saturday, June 09, 2012

Monday, May 07, 2012

New This Week! May 7,2012!

Happy Monday!


New this week at Samantha Walker's Silhouette die cut store


Please note, designs may not be up in the store at the beginning of the week, but they have been uploaded to the queue.  Watch for them as the queue rolls out the new designs!

Monday, February 13, 2012

New this Week! February 13th, 2012


New this week! 
Look for cards and dimensional cuts in my Silhouette digital die store!


And, if you missed the window of my SVG freebie (it was the card below,) 
in the giveaway in my February blog hop, 
you can now purchase it in the Silhouette store.
Look for another free SVG on the second Wednesday next month during my creative team blog hop...but you have to act quick, because the window to snatch a free SVG is only 5 days.
SVG's can be used on many electronic cutting devices, and now with your Silhouette with the new Designer edition of the Silhouette studio software.


Related Posts Plugin for WordPress, Blogger...