Ads 468x60px

Showing posts with label Traditions. Show all posts

Saturday, August 03, 2013

Kitchen decor with Diana Fisher


Hello! Diana Fisher here with you today sharing a framed project I made for my kitchen. Samantha Walker has these amazing sayings she designed for the Silhouette store and this one always makes me giggle. 

I'm pretty sure these cuts would work perfectly using vinyl, but what if you didn't want to use vinyl? Here is how you can get the same effect with paper. 

I love this Antique Tile blue pattern paper from the Traditions Collection at Carta Bella and it goes perfectly with my kitchen and dining room (the kitchen is tan and the dining room off of it is blue). This frame lives on the counter  at the corner where the dining room meets the kitchen — perfect!


So, here's a little bit about the process. I chose the Antique Damask yellow paper from Traditions for the yellow that is showing through and the brown paper is Rodeo Kid from the Giddy Up Boy Collection. This helped with the contrast to be able to read the letters showing through.


The frame is 8" x 10", so the cut was a little more than 7" by nearly 8". It wasn't an exact measurement, I just wanted it to float on the paper and I cut it later to be even on the sides.

When I took it off the sheet, I was careful not to tear any of the letters. Then I backed it with the yellow paper and adhered the two sheets together.


I put the blue paper in the frame and then used foam adhesive to lift the saying up off the background piece, giving it dimension. A fun little banner in the corner from the Traditions collection sticker sheet and my frame was finished. 


The finished project completes this corner of my kitchen and I couldn't be happier! Is there a spot in your house that could use a fun, new frame?


Thanks for stopping to see my project today!
Here are some supplies you can use to recreate Diana's project:

Get Amazon Prime Membership! Enjoy Free 2-day Shipping on Prime products, plus access to Free digital content like videos, books, and more!

Saturday, April 06, 2013

Silhouette: How to Use Subtract All and Release Compound Path Feature by Maya


Hello, Samantha Walker fans! It's Maya here with a new card and few tips and tricks.


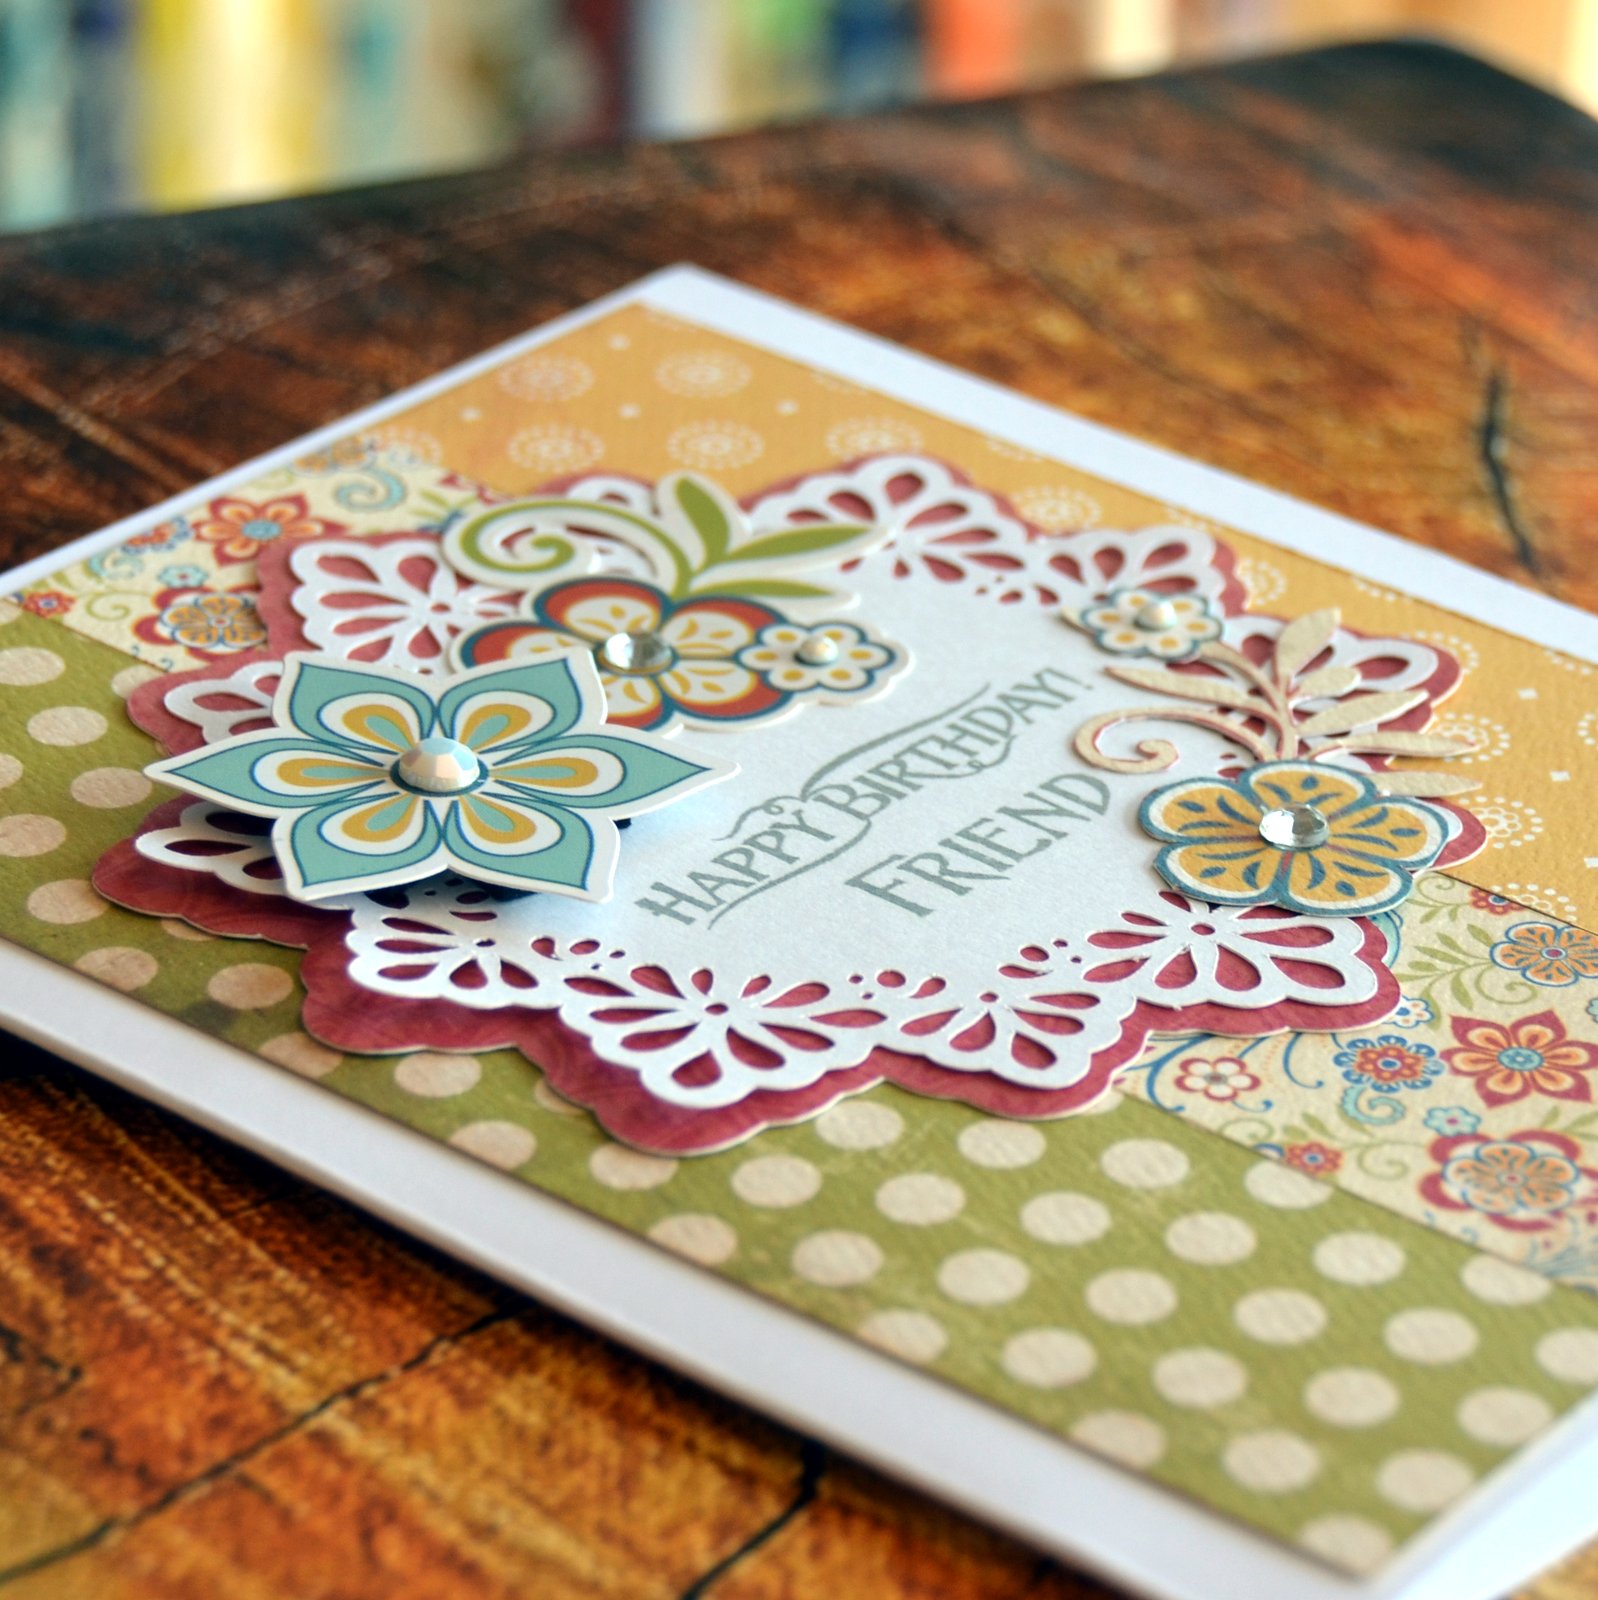
When I am in a need for a card I always go back to few basic designs that I love. One of them is what you see above - three paper strips, a doily with sentiment and few embellishments. It is a great way to use up those little pieces of patterned paper that are too small for layouts but too pretty for the recycling bin. That's why I was excited to see all new doilies that Samantha released few weeks ago. How pretty! 

For my card I picked the design called "Spring Doily". I adore the intricate design in the center but I wanted the center to be solid because I will use it to stamp the sentiment. Here is what I did to delete it in few clicks.


1. Open the cut file in the Silhouette Studio Software.


2. Zoom in to make your work easier.
3. Create a new circle.  Align the circle center with the center of the doily and resize the circle till it covers the center part of the doily like in the picture above. If you don't resize the doily the circle should be 4.5".


4. Select both the doily and the circle.
5. Click Subtract All. You just cut a circle in the doily. The original circle is still there. (Do you see how the circle is darker than other lines?) Select it and delete. Now we have a doughnut shaped doily.


6. Select the doily and click Release Compound Path. Now all little pieces are separated. 
7. Select just the circle and delete it. In the picture I moved the circle aside.
8. Select everything and click Group.


9. Resize the doily to the size you want to use. For my 5"x6.5" card I resized the doily to 4".
10. To create the mat, select the doily and click Offset. Change the Offset Distance to 0.1.


Cut the doily from white cardstock and the mat from patterned paper or colored cardstock. I used gorgeous papers from Samantha Walker Traditions Collection from Carta Bella. The sentiment is from  Samantha Walker "Buntings and Banners" stamp set. 


That's it for today. I hope I inspired you to make a card for someone you love. Thank you for stopping by!

Here are some supplies that you can use to make today's project, and other fun stuff:

Get Amazon Prime Membership! Enjoy Free 2-day Shipping on Prime products, plus access to Free digital content like videos, books, and more!

Tuesday, March 12, 2013

Banners Card Set Tutorial by Maya


Hello, Samantha Walker fans! 
This is Maya, sharing with you a simple card set.

I like giving card sets as gifts. I am always looking for simple and cute designs that can be mass produced easily and are not too bulky.


To make the card, ppen the Samantha Walker Bunting Borders cut file  in Silhouette Design software and reduce the width to 6". Do not forget to click "Lock Aspect Ratio".

Ungroup and drag all banners expect one outside the canvas. Duplicate the shape as many times as needed and arrange on the cutting mat. Cut and repeat the same process with other banners.

I used new 12x12 sheets of paper so I cut all colors separately. If you are using smaller pieces of paper you can cut all banners at the same time.


I used beautiful papers from Samantha Walker Traditions Collection from Carta Bella and American Crafts pearl cardstock


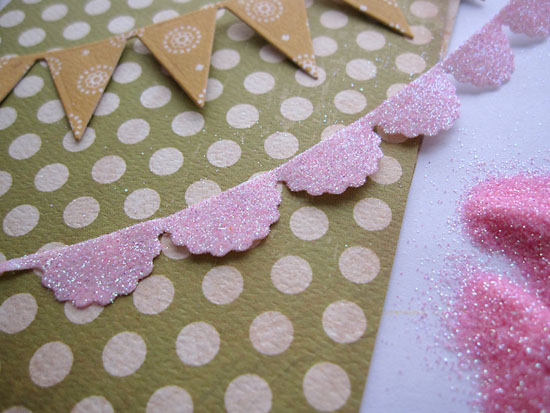
After everything is cut, the fun part begins.  Layer the banners using dimensional adhesive. I like that each card looks a little different. I finished the cards by stamping a sentiment from Samantha Walker "Buntings and Banners" stamp set and by adding a thin line of glitter to the top banner.


I made a band for my card set using the label from the 12 piece tag set.

I cut the inner oval from different patterned paper and added a wood veneer bird and few glittery dots.

I wrapped the band around the stack of 6 cards and 6 enveloped and secured with adhesive on the back. All done!

Thanks for stopping by the blog today!
-Maya

Sunday, March 03, 2013

Happy Birthday Card by Daniela Dobson

Craftsy
Hi, Daniela here with a Happy birthday card.


Samantha Walker products used:

1. Make card from cardstock. 
2. Cut two strips of patterned paper, ink edges and adhere to the card front. Tie ribbon across the seam.
3. Die cut scalloped banner from an adhesive sheet, peel off top layer and add glitter.


4. Die cut second banner from patterned paper and stamp with coordinating stamp in black ink. 


5. Adhere both banners across the card. Add 3D paint. 


6. Die cut a button from white cardstock and stamp with coordinating stamp. Tie to bow with jute. Stamp happy birthday on white cardstock, cut into a banner and adhere to the card. Add pins to bow.


Thank you for stopping by today and let me know if you have any questions.

Saturday, October 06, 2012

Introducing Traditions by Samantha Walker for Carta Bella!

Introducing "Traditions" by Samantha Walker 
for

Family is the heart of memory keeping.  Document your favorite memories with the sophisticated styling of the "Traditions" collection.  Rich colors and refined patterns combine in this beautiful, family oriented compilation of papers and stickers.  Traditional elements with a vintage twist make this collection perfect for your most treasured moments!


This collection includes the following:
9 - Double-sided, heavy weight, textured patterned papers.
3 - Double-sided, heavy weight, textured solid papers.
1 - 12" x 12" Element Sticker Sheet
1 - 12" x 12" Alphabet Sticker Sheet
1 - 12" x 12" Collection Kit
1 - 6" x 6" Paper Pad


 Look for the new "Traditions" collection in your stores soon!

Related Posts Plugin for WordPress, Blogger...