

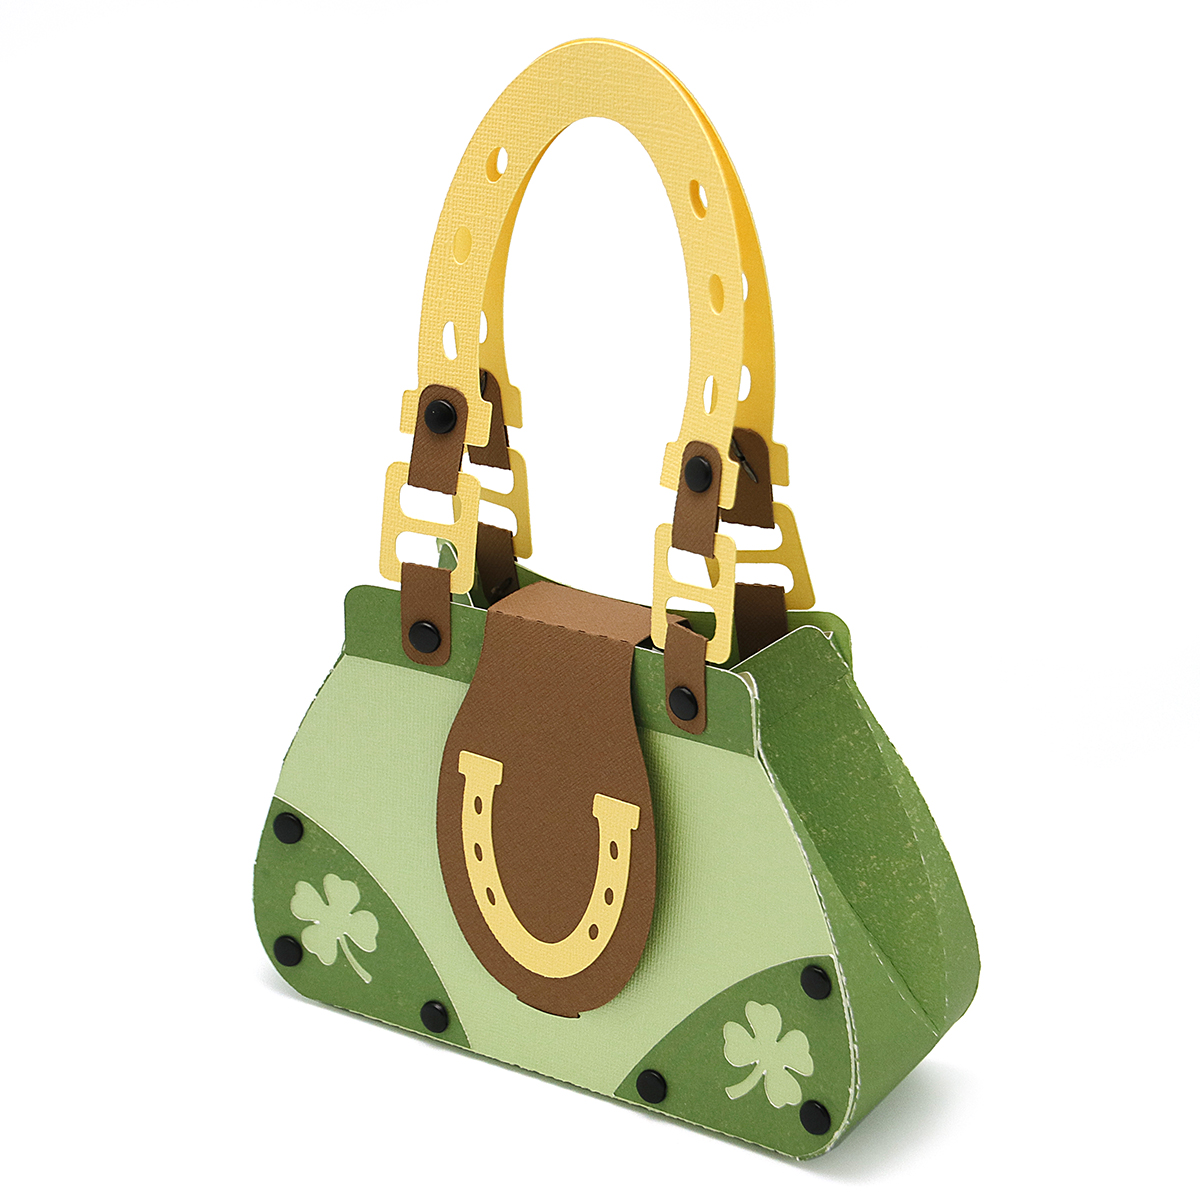
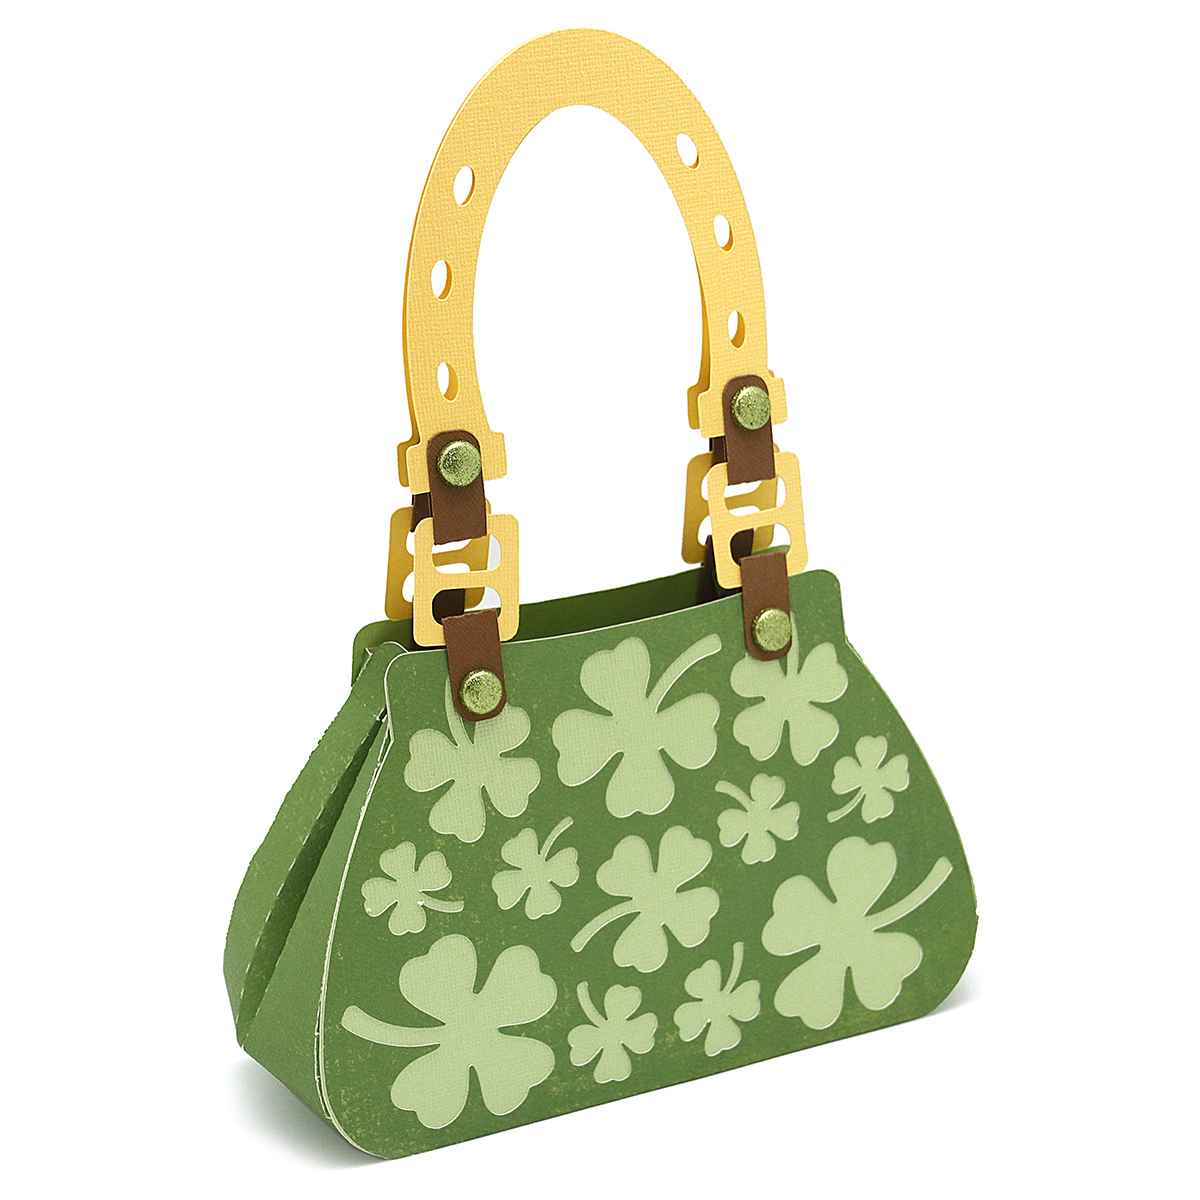
This week in the Silhouette Design Store, I have a few new purse designs just in time for St. Patrick's Day. They are adorned with shamrocks and horseshoes, and have lots of fun little details. They could be the perfect party favor for a St. Patrick's day event. Fill with treats, making them the perfect gift bag for your favorite leprechaun.
This is similar to another shamrock purse I did for Silhouette a few years back. However, the two purses are not quite the same. This one is new and improved. It has wider sides to fill it with more goodies, and a new and improved horseshoe themed handle, and updated buckles and purse flap. You could call them your lucky purses!
I'll post a link to the files in the Silhouette store as soon as they are available.
I'll post a link to the files in the Silhouette store as soon as they are available.
Both purses go together in a similar fashion. I will demonstrate just the one with the horseshoe flap, as that has an extra step. Here's how to assemble them:

First step, choose your papers and plan your cutting mats in the Silhouette Cameo software. When you open the file in the Studio software, it will be layered on a 12x12 mat. You can resize your file to use the maximum space on a 12x12 sheet of card stock. To see how it fits, you will need to ungroup your file, then arrange the color coded groups onto the live cutting area. The light green pieces are your two largest pieces. Determine how much you can enlarge your file by how you can arrange that on a 12x12. Make sure everything is selected when you enlarge. Once you have it the size you want, cut each color group separately, until you have cut all the parts. For more information on how to use your Silhouette Studio software, visit the Silhouette 101 blog. (Click on the Tutorials tab.) That is where you'll find a wealth of information about all the latest tricks and tips for the most recent software updates.
Once everything is cut, glue your decorative pieces to the front and back side of the purse. Make sure to use a good paper glue like Tombow Mono adhesive. A good paper glue won't warp your paper. I like to buy mine in bulk for obvious reasons.

Assemble the Horseshoe handles by folding the little brown tabs around the buckle pieces. Attach them with brads, as shown below.

We will attach these to the main purse later, as it's easier to do that step last. That way they aren't in the way when you get to the fancy glueing part.


Find the brown flap and attach the decorative horseshoe element. Then fold as shown, and attach the flap to the back side of the purse. You may want to align the flap with the little flap insert on the front of the purse to be sure that everything lines up.


Now you will glue the side pieces onto the front and back of the purse as shown above. Then you can attach the decorative brads through the little pre cut holes. I love precut brad holes! Makes assembling a project so much easier. I've shown you pictures of the front and back so you know what this will look like.

You will want to fold the gussets on the side before we get to the fancy gluing part of the project. Fold the center part inward, and the curved fold lines outward, so it's accordion style. You do not need to fold along the horizontal fold line at the top. Please note, your side gussets may have slightly different fold lines, as I adjusted it in the final design for ease of movement.

Now we will glue the tabs along the curve of the front of the purse. This can be tricky if you've never glued tabs along a curve before. Here are some hints to make this part go smoother. Only use a small amount of glue on each tab. Use your hands on both sides of the side piece. One to hold down the tabs as you glue, the other to guide the side piece along the curve of the purse. You may have to push and slide the tabs as you go, and they will start sticking as your glue dries. Good paper glue, really makes this part much easier. If you are frustrated with too much movement while you are gluing the tabs, you can use scotch tape to temporarily hold it down. (see below)
You will continue to glue the tabs until you have attached all four sides with the front and the back of the purse.


Find the brown flap and attach the decorative horseshoe element. Then fold as shown, and attach the flap to the back side of the purse. You may want to align the flap with the little flap insert on the front of the purse to be sure that everything lines up.


Now you will glue the side pieces onto the front and back of the purse as shown above. Then you can attach the decorative brads through the little pre cut holes. I love precut brad holes! Makes assembling a project so much easier. I've shown you pictures of the front and back so you know what this will look like.

You will want to fold the gussets on the side before we get to the fancy gluing part of the project. Fold the center part inward, and the curved fold lines outward, so it's accordion style. You do not need to fold along the horizontal fold line at the top. Please note, your side gussets may have slightly different fold lines, as I adjusted it in the final design for ease of movement.

Now we will glue the tabs along the curve of the front of the purse. This can be tricky if you've never glued tabs along a curve before. Here are some hints to make this part go smoother. Only use a small amount of glue on each tab. Use your hands on both sides of the side piece. One to hold down the tabs as you glue, the other to guide the side piece along the curve of the purse. You may have to push and slide the tabs as you go, and they will start sticking as your glue dries. Good paper glue, really makes this part much easier. If you are frustrated with too much movement while you are gluing the tabs, you can use scotch tape to temporarily hold it down. (see below)
You will continue to glue the tabs until you have attached all four sides with the front and the back of the purse.

In the final step, attach the horseshoe handle to the purse using the brown tabs and brads to fasten. I love this new design, because the flap now has a tab to insert into a slot on the main purse.





