Ads 468x60px

Showing posts with label samantha walker designs. Show all posts

Tuesday, January 28, 2014

Hand Sewing with Nicole

Hello!  Nicole here today to share a technique with you.
Recently my grandma gave me a box filled with lots and lots of embroidery floss.  It's made me want to do some hand stitching and when I saw this bubble card of Samantha's, from the Silhouette Online store, I though it would be fun.  A little crazy, yes, but fun ;)

I'm going to show you how I made this card with my Silhouette machine using Samantha's cut file and Silhouette Sketch Pens to make a template for my hand stitching.  I should add that this technique can certainly be simplified and put on a larger scale so the stitching isn't so intricate.


I started with the bubble card of Samantha's -

I opened the Bubble Card in Silhouette Studio.


I then went to Object > Ungroup (or right click and hit ungroup).


You are now left with the 1) main card and the 2) small heart.


  To separate the main card from the front design I then went a step further and selected the main card and went to  "release compound path" by going to Object > Release Compound Path (or right clicking).  


Each of the score lines and small pieces on the front of the card are now separate pieces.  To group the front shapes back together.  Click and highlight in the dash lines all of the front design.  It will look like this when all selected:

Go to Objects > Group (or right click and select group) and all these images will be one piece.  I did the same thing with the center score lines.    


To make it easier to load and draw/cut I went up to the Cut Style Menu (can see in the photo below).  I selected the front circle design and hit "cut" and then selected the other three areas (card outline, score lines, and heart) and hit "no cut" on each.  To note:  It's easy to tell what layers you are selecting since they become the bright bold red.  


Load the mat with your cardstock into your Silhouette.  Replace the blade with a Sketch Pen and hit cut.
Now WITHOUT unloading your mat replace your Sketch Pen with the blade.  Go back to the Cut Style Menu and change the front design to "No Cut".  Select each of the other three areas of the card and select "Cut" on each of them.  


Select the Cut Menu and set for cardstock and hit cut.  

I now had my card with a design drawn on the front that I used as my template to hand sew.  I used my push pad and paper piercer and pierced holes along the lines. As I got started I decided to mark off with a pencil and change my embroidery floss.

I was able to sew this one afternoon while catching up on shows that were on the DVR.      


Once I completed the whole card I decided to go back in with some colored pencils and make the design stand out a little more.  


I heat embossed the small heart with some red embossing powder, stamped the word love, and attached it with some foam adhesive.  As a few final touches I added a sentiment and some small sequins.  


I realize this is the extreme in hand sewing, but it can easily be simplified and you can do this with so many other shapes on a card or layout.  I hope you give it a try and share when you do!  

Thanks for stopping by the blog today!

Sunday, January 26, 2014

Layered Mini Album with Keepin' Cozy by Cathy

Hi!  Cathy here with a mini album to share with you, featuring several Samantha Walker cutting files and the paper collection she designed for
Echo Park...Keepin' Cozy!
   
A couple of months back, I saw an amazing mini album on the Silhouette Blog.  I loved it and bought the bundle to create my own. Then, when we were assigned our dates to post for Samantha Walker's Creative team...I wondered if I could create one similar with her files.  So that is exactly what I did!


I love how it turned out!

Here is the list of files I used to create the mini and towards the end I will list the files for cover.

I cut all the pieces in the order listed above.  I had to ungroup the hexagon snowflake card, so that I had just the card base.  The only file I reduced was doily lace, which I reduced to 6 inches in diameter. 
Here is a screen shot of the layers.

After everything was cut, I inked all the edges except the white card stock.  I layered the pieces all back together and added a glassine bag for one more layer.  I added a piece of scrap paper, sequins and stickers to create a fun little pocket on one side and then a tag to other.  I stitched through the entire stack of layers...no problem for my sewing machine whatsoever.

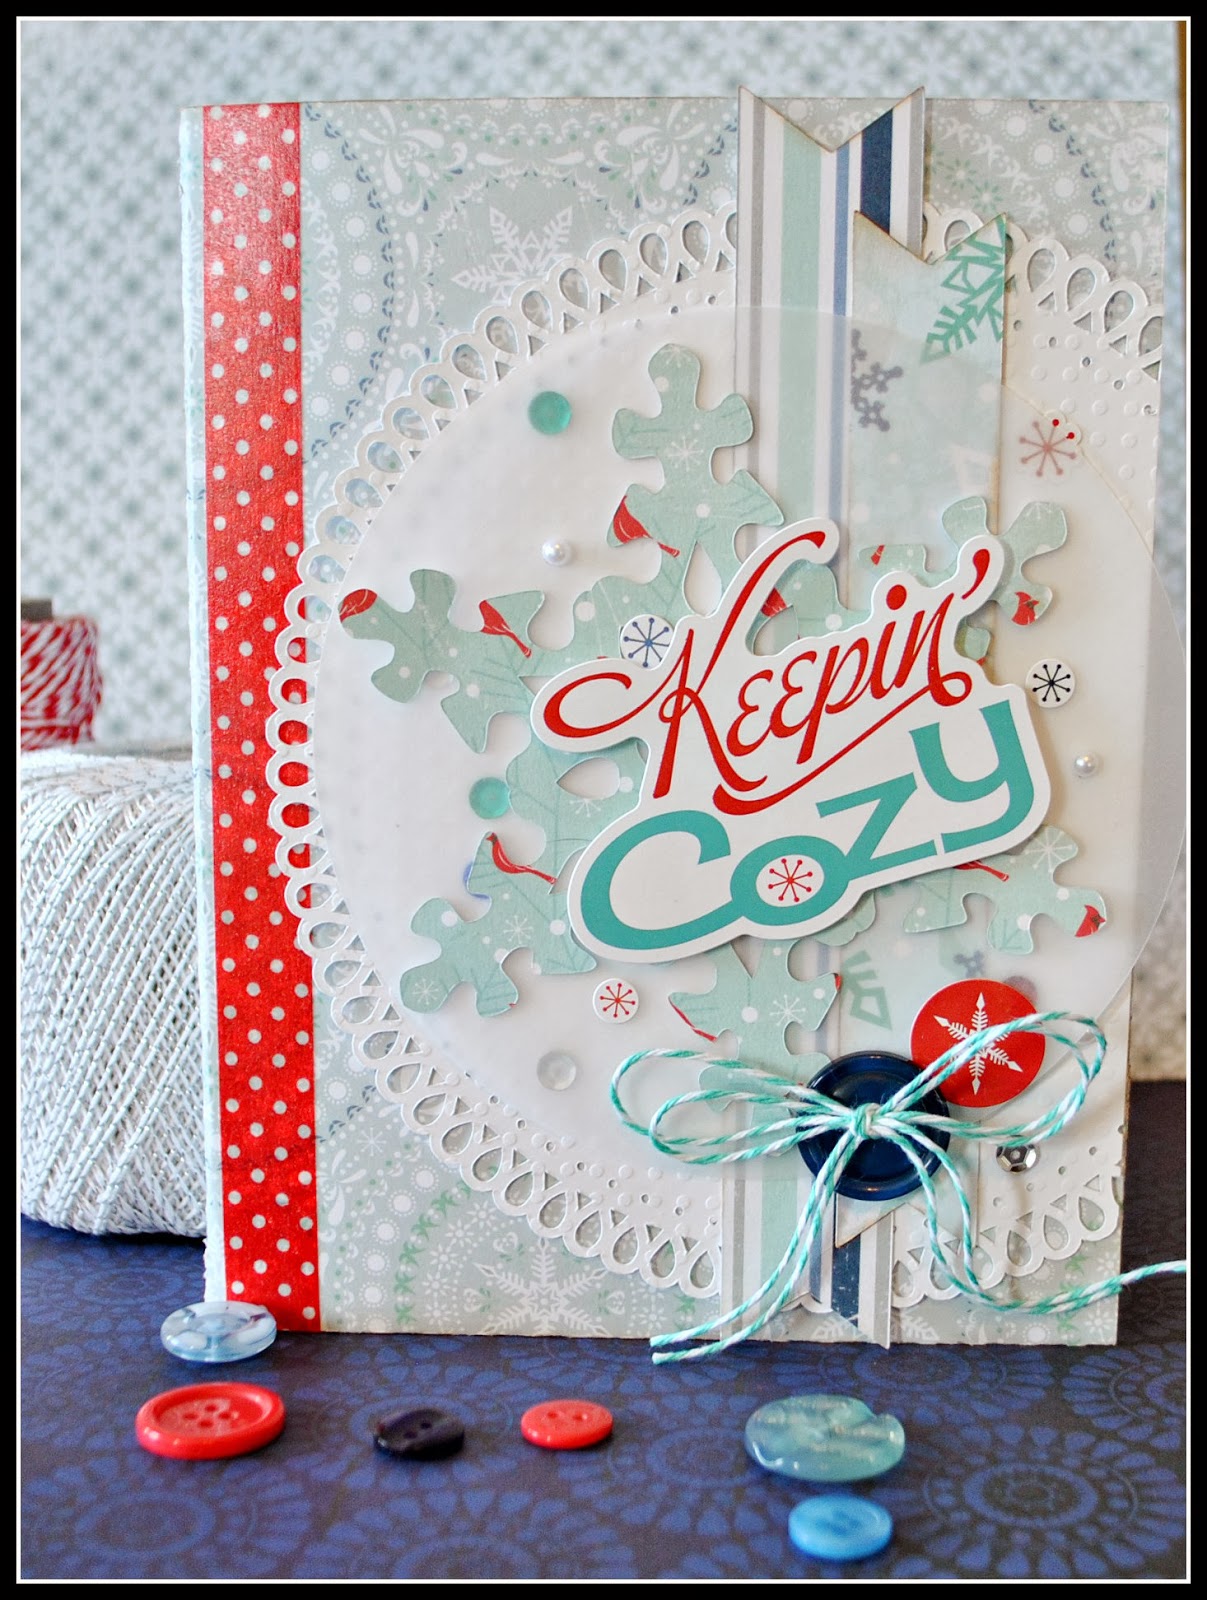
For the cover, I used the snowflake that I ungrouped from the hexagon snowflake card, and circle tear drop scallop #4238 reduced to 6.25 inches.  I added a 5 inch circle of vellum for one more layer. Then finished up the mini with stickers from Keepin' Cozy, a little Twinery Twine, then added some miscellaneous buttons &sequins.

I can't wait to send this to my BFF back home, so she can add all of her fun Instagram photos of her kiddos sledding and playing in the snow.  There are so many 
Samantha Walker cut files that you could use to create a mini...the possibilities are endless!

~Cathy

Equipment: 
Silhouette Cameo or Silhouette Portrait electronic cutting machine
Sewing machine
Files Used: 

Tuesday, December 31, 2013

Mini album by Daniela Dobson


Hi, Daniela here with a cute mini album. 
Samantha Walker products:


1. Open and cut 3-d  Samantha Walker lace-close box using Silhouette Cameo and patterned paper.

2.  Assemble the box and adhere. Add jewel brads.
3. Cut 6 3x4 pages from patterned paper. Add patterned paper strips, chipboard and stickers. Bind the album
4. Finish by decorating the front of the box with chipboard and stickers.
Note: I decorated the box so that it can be used in vertical position with the small flap opening on the right. When adding stickers, remove the adhesive by applying some baby powder to the back. Add adhesive only to the left side or right side of the stickers so that the box can be opened. The right flap tucks under the brad and stays secured. 


Thank you for stopping by today!.


Minted Letterpress Wedding Invitations

Sunday, December 29, 2013

Silhouette Tutorial: Cube Surprise Box by Aimee

Aimee here to sharing how to make Samantha’s cube surprise box!
I opened the file in the silhouette program, and ungrouped the images, copying and pasting them to new pages. 


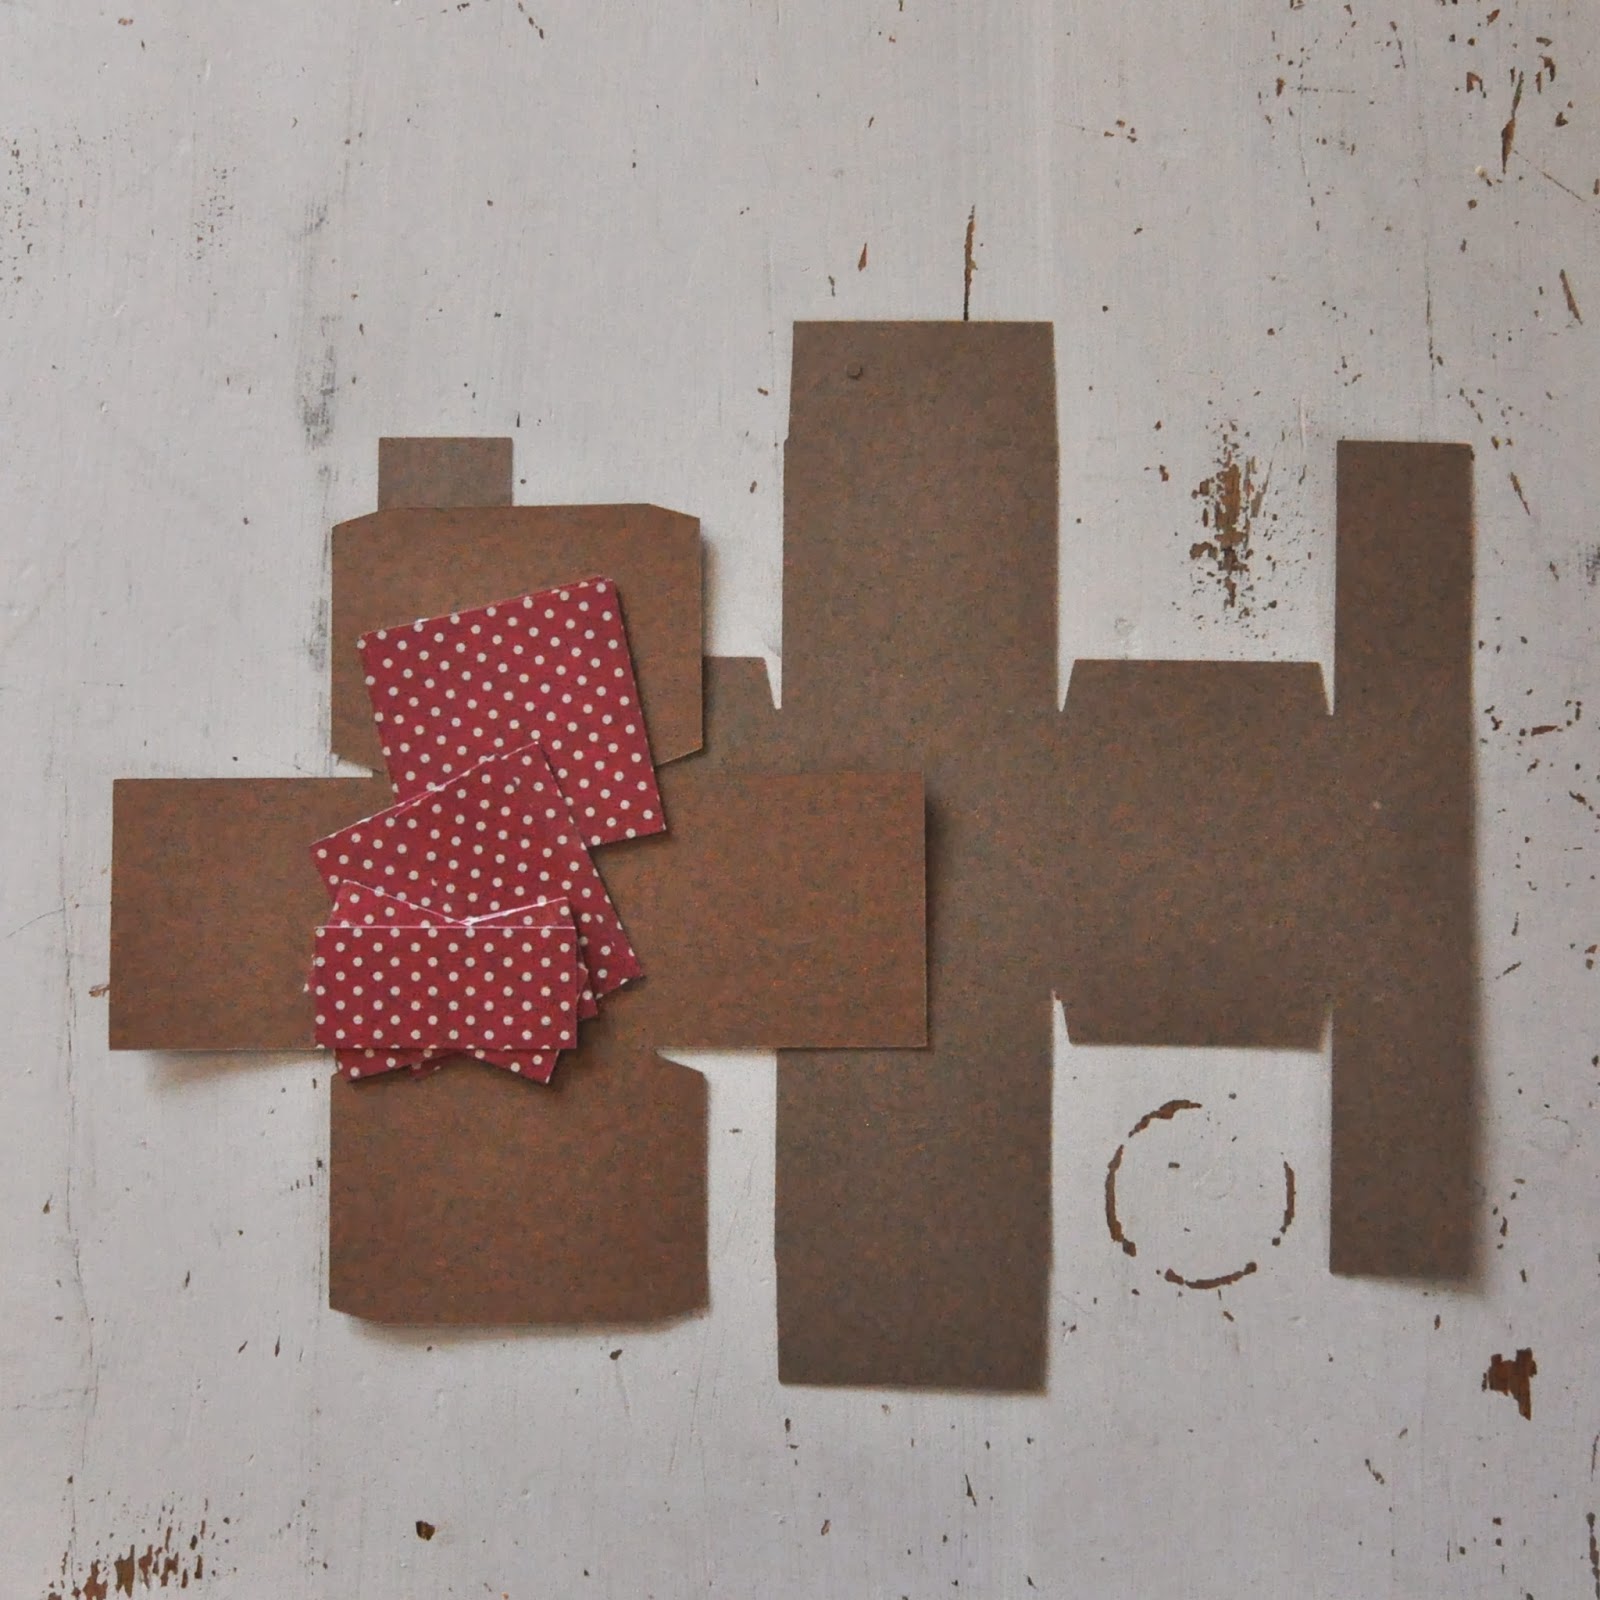
I cut the box and cube from two pieces from Kraft cardstock. I cut the polka dot squares from Samantha’s Giddy Up Line. {I cut 2 extra squares}

I started folding all the perforated lines on the 2 box pieces.


I glued all the tabs to the inside of the cube and box, except the 2 top ones on the box, they will get folded in the cube once the cube has been placed inside the box.


I placed the cube inside the box, glued it down folding the 2 tabs over into the box and adhering. 

I then glued all the polka dot paper to all sides of the cube {that's where the 2 extra squares come in} and outside panels of the box.

I hope you enjoyed this little box as much as I do! Thanks for stopping by the blog today, to see how I made it!

Tuesday, December 24, 2013

Moments with Claudia Harvey

Hi everyone. Claudia here. Its Christmas Eve! Can you believe it?
I am so excited to share a very special moment with you.
Today I am going back to my digi scrapper roots, using one of 
my all time favorite kits, Rough & Tumble.


I created my layout using Samantha's digital kit. These photos were taken earlier this year at Disneyland in California. We are so blessed to be celebrating Christmas at Disney World this year; we are excited to make more memories like these.
I love that this kit is also available for all you paper scrappers too!
For additional information on digital scrapbooking, check out this book.
Merry Christmas and Happy New Year!

Lots of happy hugs,

Sunday, December 22, 2013

Quick and Easy Gift Box with Linda


Hi everyone! Linda here from www.paperboutiquewithlinda.com.  Are you looking for a last minute holiday gift?  Be sure to check out Samantha’s box with round handle.  It only took me minutes to make!
The fun thing about this box is that you do not need glue or adhesive to assemble it.  I used adhesive on the panels and snowflake, but if you want a really quick box, you can leave off the panels and added decoration. You can purchase her box file (ID# 50520) and her snowflake file (ID # 38926) from the Silhouette On-line Store.
This adorable box would be great for any occasion and also makes a fun party favor. I filled mine with Dove Chocolates...yum! For assembly details, please watch the following video!
Thanks for visiting and have a wonderful holiday season!
Linda
Here are some supplies that you can use to make today's project, and ideas for filling favor boxes:


Get Amazon Prime Membership! Enjoy Free 2-day Shipping on Prime products, plus access to Free digital content like videos, books, and more!

Friday, December 20, 2013

Rough & Tumble Mini Album with Flip Pages by Linda Kaiser

Linda shared a stunning and adorable mini album over on her blog this week using the Rough & Tumble collection from Carta Bella Papers!  Just have a look at all the cuteness...

Linda has a video tour of this adorable mini album that she made using directions from Kathy Orta’s book.  Be sure to stop by The Paper Boutique to see more and enter to win Linda's giveaway too!


Supplies Linda Used:
Scrappy Tape
Metal Corners from Bonnie’s Best Art  Tools http://www.bonniesbest.com/
 Kathy's Book

Tuesday, December 17, 2013

Fruit Cup Wrapper Tutorial by Maya

Craftsy

Hello Samantha Walker fans! I can't believe that 2013 is coming to an end. My kids have 4 more days of school left and my son's kindergarten class is getting ready for the holiday party on Friday. I was asked to bring fruit and I was thinking how to make the presentation a little more festive than the usual fruit tray. Samantha's Snowflake Cupcake Wrapper to the rescue!


I opened the snowflake wrapper cut file in the software and enlarged the shape to 105% of the original size. This size fits perfectly the 9oz crystal cut cups that I used.
This is the enlarged shape showing it's final size.


To make the little flags for the forks I used Samantha's Snowman Cupcake Wrapper. I ungrouped the shape and deleted everything except the letters. After that I drew a simple flag around the letters, grouped everything together and resized it to the size I wanted.
I was able to cut 5 wrappers and 6 flags from one 12x12 sheet of thin glitter cardstock.

I glued the wrappers to the cups by adding adhesive under the overlapping edges.

Ready for the party!

The flags are wrapped around the forks and  secured with 2 glue dots.

Tip: save the tiny stars from the snowflake centers. They make perfect confetti to sprinkle around.

I hope I inspired you to think outside the shape and see that each shape can be used in may different ways.
Happy Holidays!
Supplies that can be used to recreate this project:
Related Posts Plugin for WordPress, Blogger...