Chevrons continue to be all the rage. From fabric, to paper, to clothing and more...you cannot get away from this delicious design. Today, I'm going to share with you a way to change up the look from a traditional chevron in this intertwined Chevron Card.
For this project you will need this Equipment:
A Silhouette Electronic Cutting machine. This file works great with both the Silhouette Cameo and the Silhouette Portrait cutting machines.
For those of you who are new to my blog, and may not have heard about the
Silhouette electronic cutting machine(the machine I used to cut this file out,) I put together a
product review at this link. You can read other's reviews of the machine
here. This machine will change the way you craft!
You will also need this Silhouette File:
Intertwined Chevron Card (file will be linked as soon as it appears in the Silhouette store.)
With your Silhouette machine, cut the groups of chevrons in two different colors. (When you open the file up in the Silhouette software, select ungroup once. You will then see two different groups of the chevron pieces. Cut one of the groups in one color, and the other group in a coordinating color.) Then line them up in order so you have them ready to intertwine.
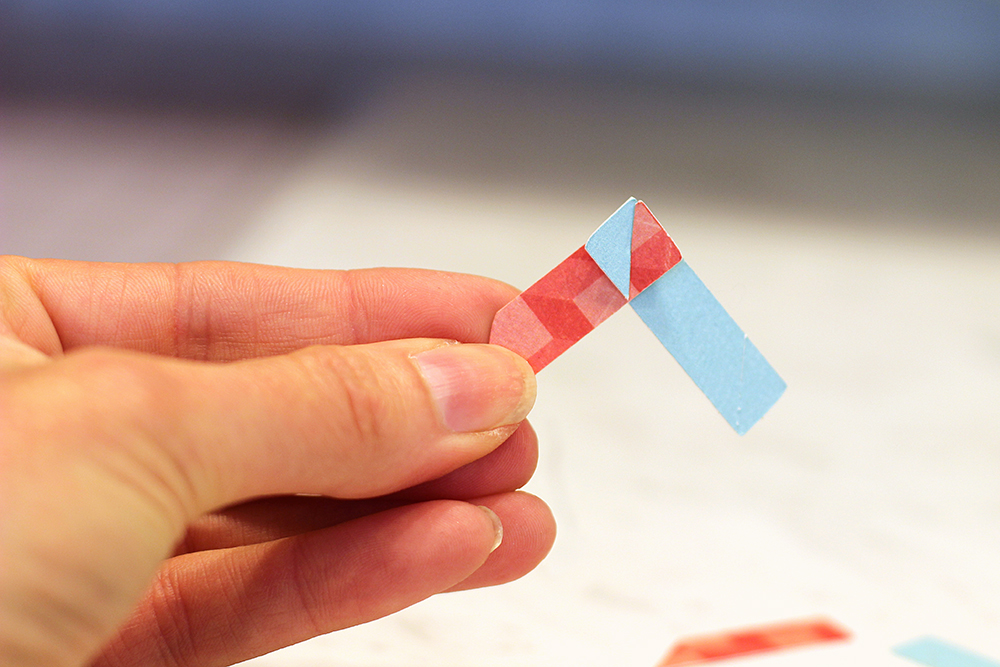
Intertwine two chevron pieces at the slit, as shown above.
Then flatten them out when the two pieces come together all the way down the slit.
Continue intertwining the pieces until you finish a row.
Complete as many rows as you wish, then attach each row to the card front with a
good paper glue. The file includes 3 rows, but you could easily cut and paste more rows within the Silhouette Studio software to achieve your desired look.


google 4452
ReplyDeletegoogle 4453
google 4454
google 4455
google 4456