

This week in the Silhouette Online Store, you will find several new baskets in my store section. These are all based on a simple circle and the main part of the basket can be assembled with brads or adhesive. If you choose to assemble with adhesive, feel free to delete the brad holes in the Silhouette studio software.
For this project you will need this Equipment:
An electronic cutting machine. The download is available in .studio format for the Silhouette Electronic Cutting machine. It is also available in SVG cut file format for most other cutting machines like the Cricut Explore. Both file types through the silhouette store...links below.
Circle Basket with bow Design ID #62208
basket scalloped circle with daisy Design ID #62212
basket scalloped circle with scalloped bow Design ID #62211
basket with quadruple straight bow Design ID #62210
basket with triple pinched bow Design ID #62213
flag circle basket Design ID #62209
basket scalloped circle with daisy Design ID #62212
basket scalloped circle with scalloped bow Design ID #62211
basket with quadruple straight bow Design ID #62210
basket with triple pinched bow Design ID #62213
flag circle basket Design ID #62209
Cardstock is from my Summer Lovin' collection from Carta Bella pattern is "Sunshine"

Open the file in the Silhouette software. Cut the file out in a double sided card stock.

Fold inward along the dotted lines. Line up the curved sides so the brad holes line up.

Insert a brad into the lower lined up holes. Place basket handle at side and line up brad holes and insert brad.

Get the bow piece and curve it with your fingers.

You could also curve the bow with a pencil or a pen.

Put tape or glue at the center of the paper bow. I used a Scotch ATG tape glider.

Pinch the bow at the center where you applied adhesive.

Take the small strip and apply adhesive then wrap around the bow.

Attach the bow to the front of the basket with adhesive, or a brad. (Brad holes are not included for that option, you would need to use an awl to punch a hole first. )

This basket is assembled much the same way as the basket above with only the difference of the flag front.

Cut the pieces out in traditional colors for the flag, or come up with your own creative combination.

Simply layer the pieces as shown in the photo above, then attach to the front of the basket. Fold and assemble as shown in the steps in the basket above.

Multi Layer Bow Instructions


Find the T shaped piece, this will be your bow center.

Curve both sides with your fingers or around a pencil.

Curve each of the other strips around your fingers or around a pencil.

Attach each section at the center with adhesive.

Stack the bow pieces on top of each other and apply adhesive between each layer.

Finish the bow with the T-shaped section and wrap that tail around the bow to secure it.

This basket is similar to the one above, the layered bow is pinched in the center instead of straight.

This basket has a fun scalloped edge and a scalloped layered bow. Assemble the bow as shown above.
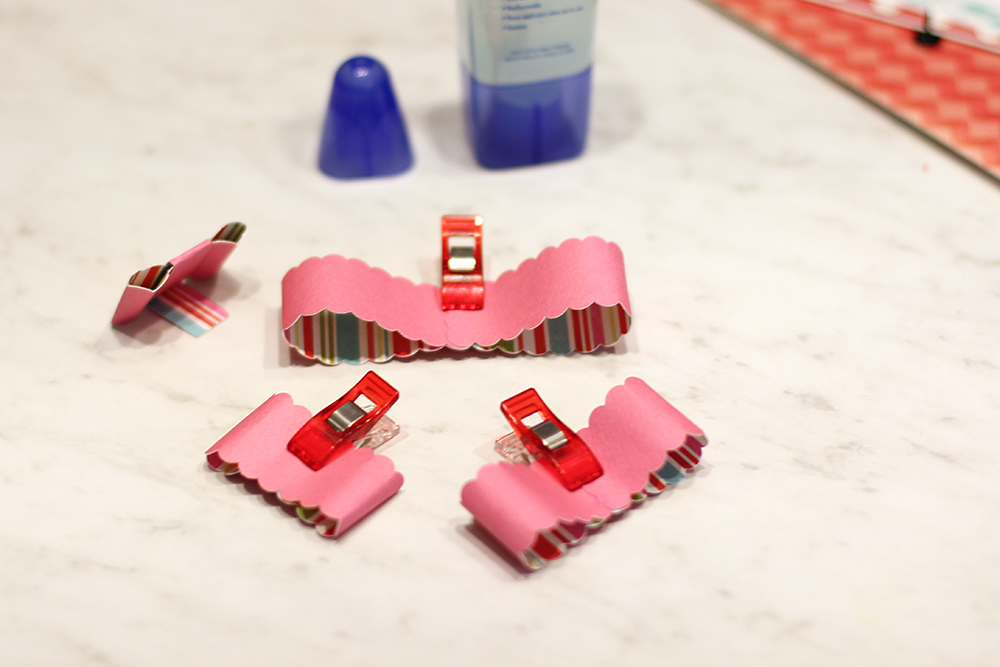
If you use glue, use wonder clips to hold your paper in place until dry. A good paper glue doesn't take long to dry...but clips certainly speed up the process even more!


If you use glue, use wonder clips to hold your paper in place until dry. A good paper glue doesn't take long to dry...but clips certainly speed up the process even more!
If using glue, use a large wonder clip to hold the bow on while it dries.

This basket features a large modern daisy-like flower. Simply manipulate the paper petals to fashion your flower how you would like. Layer the pieces and you have a fun embellishment for your basket.


No comments:
Thanks for taking the time to leave a comment! Without your readership, I wouldn't be doing a blog.
My blog is supported by sponsors and affiliates. If you decide to make a purchase through my affiliate links, I am paid a small commission for it. This doesn’t cost you anything additional. These commissions help to keep the rest of my content free, and allow me to blog more often.
From time to time I make recommendations of products that I love to use, or products that I have designed. Occasionally, manufacturers send me products to play with. They have not obligated me to show them on my blog or review them. I only make positive remarks about those things that I truly love and enjoy to use. Everyone's personal experience with various products may be different, as we all use things in different ways. I am not compensated for these remarks, and merely pass on my opinion to you as a reader. I hope you find my opinions valuable.
Thank you for supporting my blog!