

Good morning!
Today we would like to introduce you to this years

Hello everyone! First, I'd like to thank Samantha and Jamie for allowing me to guest here today! I was sooo excited when I found out! Today I'd like to share a couple of projects with you that I created for Easter!
I'm a minimalist. I like clean and simple projects with a unique flair. So, last year, when I came across this little 3D Meal Box, I KNEW I had to use it!
I had not even had my Silhouette SD for six months when they released the Portrait so, I've had to learn how to adapt the items that are scaled larger to something that could fit my regular sized cutting mats.
All I did was rotate the image about 80 degrees and shrink it a little so that it would fit in the space of my Silhouette Portrait Mat.
I knew I wanted to add a bunny image. It just so happens that Samantha Walker has an image for that (I wanted to say "has an app for that" but, that didn't really fit! LOL!). I used "Bunny Easter Banner" to create my bunny image. I colored the insides of the ears and tummy and added little pearl accents for the eyes.
I had to scale the image down to fit my little box, and I decided not to use the banner and some of the other accent pieces that came with this file. That's the great thing about multi piece files...you can choose which parts you want to use and it's like having little bonuses for the price of one file.
I simply ungrouped the image and deleted what I didn't want, and re-grouped the image in case I needed to make any more adjustments. Grouping allows you to move everything at once without having to select all the little parts.
Here is how the boxes turned out!

I put jelly beans on the inside for my son's teachers at school!

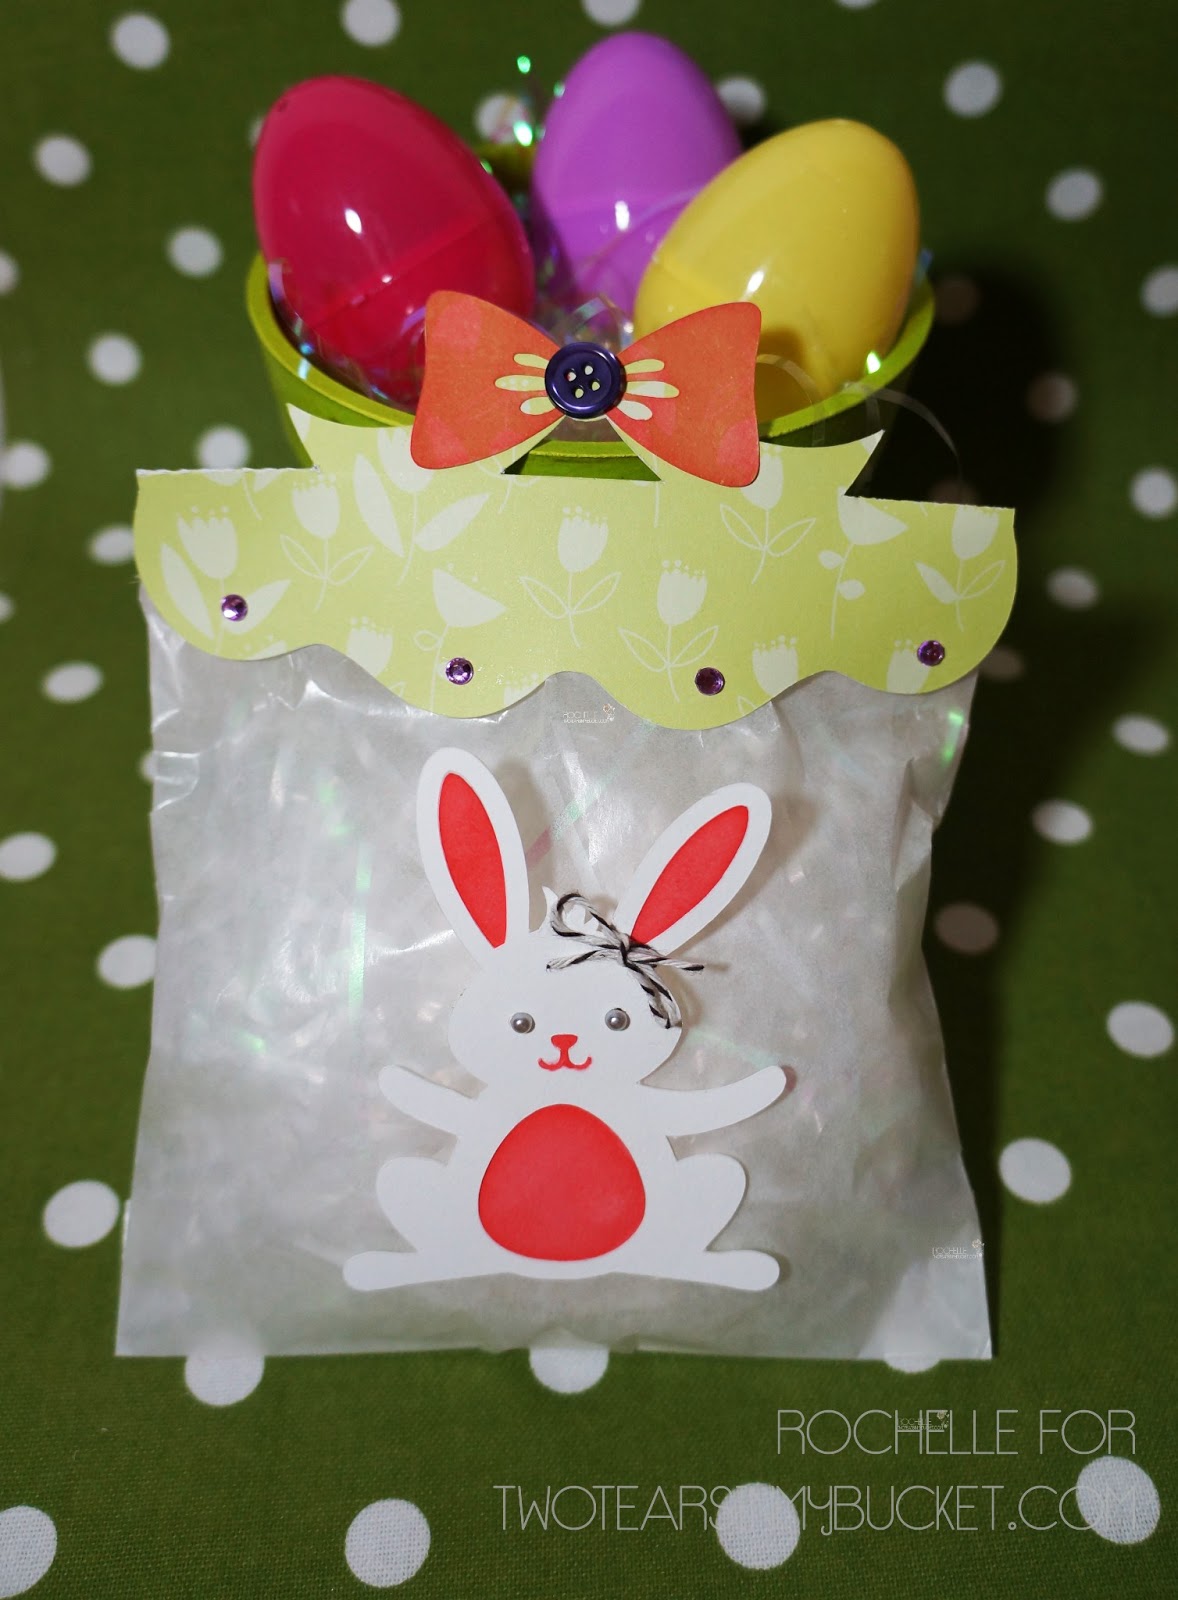
The last project I created was a little treat bag for my son to give to his former teacher. She was really great in helping me potty train him! I need to give her SEVERAL gifts for that! :) I used the "Bag Topper Bow" for my treat bag. I colored the little bow and added a button and some bling for embellishment. Its adorbs I think! I had to resize this as well to fit the width of my glassine baggy.
Here is how it turned out:
Silhouette Shapes used:
Other Supplies:
Glassine Bag
Markers
Twine
Pearl Accents
Purple Bling
It has been a pleasure guesting with you all today!
Have a happy Easter!
A big "Thank You" to Rochelle for sharing her projects with us today!
Be sure to stop by Rochelle's blog to see more of her fabulous creations!


Rochelle...your projects are adorable! Thanks for sharing your talent with us:)
ReplyDeleteLoooove your sweet projects Rochelle. They are so fun and festive for Easter! :)
ReplyDeleteSo adorable! love that bunny!
ReplyDelete