Ads 468x60px

Showing posts with label #55847. Show all posts

Tuesday, March 18, 2014

Signs of Spring - Flower Tutorial with Nicole

Here in Utah there are signs of spring everywhere!  The daffodils in my neighbors yard are in full bloom, the grass is turning green, and best of all the days are starting to warm up.  I've been bringing the spring into my crafting as well.


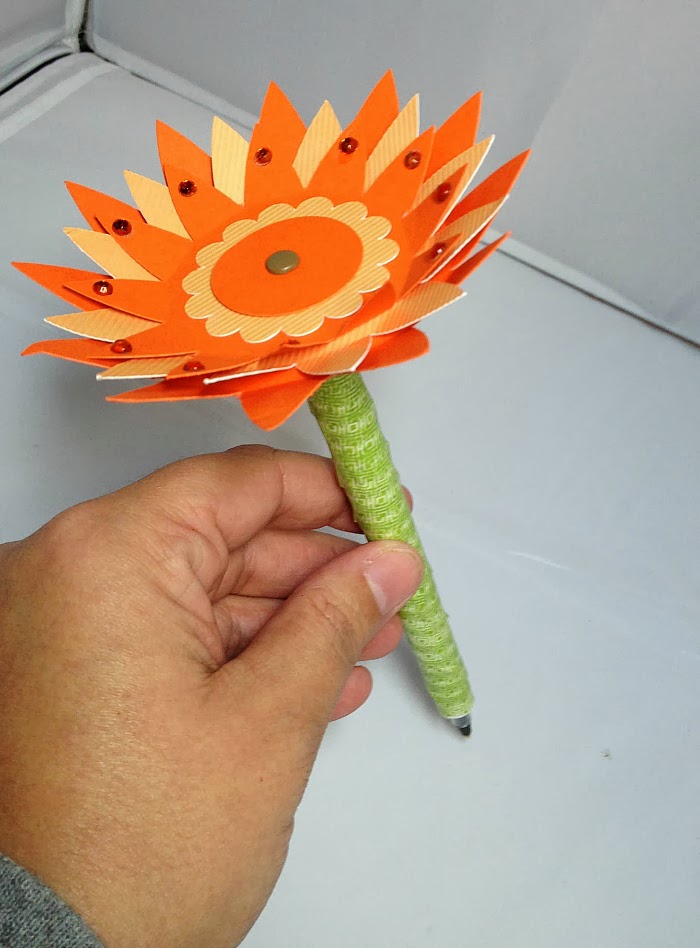
I wanted to make a card with some daffodils and chose Samantha's flower 5 to create a daffodil looking flower.  I opened it up and placed several of the base and the centers on my mat in Silhouette Studio.  I then brought in just the grass from the Easter Bunny file.  


I placed all my cardstock on the mat and hit cut.  I slowed down my machine just a touch from the textured cardstock setting since the cuts on the flower centers are tiny.  The Cameo is amazing and cut them out perfectly!


I then added a little texture to my petals and flower center by curling them up.  The centers are so tiny that I used the end of a colored pencil to help.  
I then took orange chalk ink to ink the edges. 
 I assembled all my flowers with small dots of glue.  

Here is my finished card.  I just love the added dimension these small flowers create.   


 Supplies Cut files:  Flower 5 and Easter Bunny (links below); Pattern Paper: Carta Bella; Stamps: JustRite; Vellum: Darice; ink: Martha Stewart (chalk ink) and Tsuikeniko; cardstock:  Bazzill; embroidery floss: DMC


Hope you are starting to see the signs of Spring wherever you are, Happy Crafting!

Tuesday, March 04, 2014

Flower Pen Tutorial by Christine

Hi Samantha Walker Fans!  Christine joining you today to share a flower project! I had so much fun playing with Samantha's new flowers this week and found a fun way to incorporate them into a project.  Today I am going to show you how I turned these flowers into pens.  I have them displayed here in a flower pot.


Your first step is to cut out the flowers that you want to use.  I used two shades of each colors to add a little contrast.  I set them up on my screen like this and then used 6" X 12" papers on my cutting mat.  I used the following flowers:

You will then want to fold and bend your flowers to your taste....I just use my fingers for this but a pencil would work great too.  I also embellished mine with some gemstones.

I then created my "stem" by using a six inch square.  First off, I have to give credit to the team coordinator, Jamie, here because she helped me figure out how to do this step.  I set it like a diamond on my grid and trimmed off one end so that it lined up with where I wanted the paper to end on my pen (a grid mat was super helpful with this).  

I used strong craft glue that dries fast and rolled up the pen, securing it with a clothespin while I worked on the others.

I then wrapped it with washi tape because I thought that would help it hold up better and looked pretty!
I cut slits in the end of it so that it folds down in thirds, making it easy to attach to the flower.

Once again using my strong craft glue I attached it to the flower

And then you are done..you've got a lovely little pen to display.


Our school secretary is an awesome friend and because I always talk her head off about paper crafting (which she doesn't do any of), I decided to make this into a gift for her.  I used a small flower pot and added some beans.

I then added the whole variety of them!  I hope this will give her a little bit of spring joy for the week!

Have a great week crafters!
Related Posts Plugin for WordPress, Blogger...