Aimee here to show you how to but the 3d egg boxes together!
You can also go to this tutorial here for multiple ideas on how you can close these boxes.
You can also go to this tutorial here for multiple ideas on how you can close these boxes.
You can really do so much with these eggs.
Fill a jar,
string on lights or use as a garland. fill a basket or add to a wreath.


Here is a picture of all the eggs I made folded and ready to
be glued.

My adhesive of choice is glossy accents.
I like that you
need very little, it’s strong, long lasting and dries very quickly.

Cut eggs from cardstock
I copied and pasted an additional egg so I could get 2 eggs from 1 piece of 12x12 card stock

To fold the egg, start by folding the top crease
lengthwise.
{Some of the eggs are really delicate, and by doing this step first
helps the egg from tearing}


Fold bottom crease lengthwise
Here you can see I have both creases folded
lengthwise

Fold over the creases at the top of the egg


Fold creases at the bottom of egg
Fold the crease where each egg is connected

Once all crease have been folded you are ready
to put the box together
The end of the egg has tabs, fold there crease,
and insert the tab into the slot provided


Once
egg has been connected at the end to from a box, glue the top creases together.

Hold
for a few seconds while glue dries
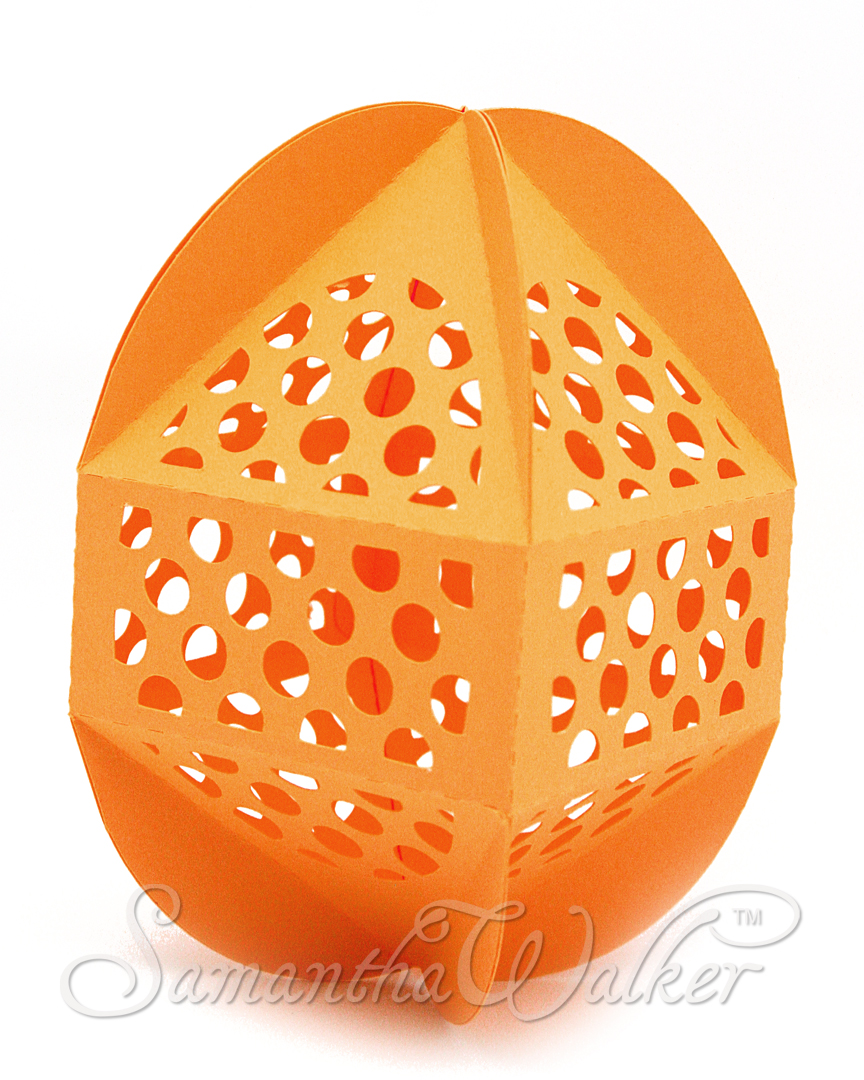
You
now have a completed egg

Embellish with ribbon, glitter etc. depending on the use of
your egg


thanks for joining me today
Get Amazon Prime Membership! Enjoy Free 2-day Shipping on Prime products, plus access to Free digital content like videos, books, and more!