Ads 468x60px

Showing posts with label Tonya Graham. Show all posts

Friday, November 07, 2014

Sweet Shaker with Guest Designer Tonya!

Good Morning, Guest Designer Tonya here today to share with you a great shaker card using a Samantha Walker's Silhouette file!  I have been bitten by the Christmas bug and have been making Christmas cards for weeks and weeks already.  


Here is the file I am using:


When the file is opened, it is fit for a 12 x 12 sheet.  
My plan was to use the file as a printed background for a shaker card.  So I modified it.  

The first thing I did was ungroup the pieces.  I used the file color option in the software and colored the candy swirls red, since I was using a white card base.  Once colored I moved the swirls to fit on the 'wrapper'.
The swirls were not lined up the way I wanted.  To correct that, I highlighted the swirls and rotated them until they lined up with the red meeting the wrapper ends.  

I wanted the outline of the wrapper to be a charcoal tone.  To do this, I clicked the line color option and chose the correct level of gray tone.
 Since peppermint candy wrappers are clear, I chose a lighter gray so that they appeared to be slightly transparent on the background.  

Next I drew a rectangle and sized it to 4.25 x 5.5 inches.  This represented the base of my A2 size card.  

The cardstock I used was 8 1/2 x 11 inches.  To make things easier (visually), I changed the page settings to fit.   Also, to represent printing, I positioned the page in portrait. 
Next I moved the rectangle I drew to fit the bottom left corner of the page. 


 The peppermint candies were sized and replicated to fit my pattern.  
I intentionally left a bit of space between the candies in the upper center for a sentiment to be stamped.  

When using a cut file for a print design, it is very important to be sure you have the print lines selected.  
The option to do this is under the line style icon.  Since I did not want the rectangle to print as I only used it as a reference, I did not select those lines.  


When I had everything where I wanted it, I sent it to the printer.  I used my paper trimmer to cut the cardstock to 4.25 x 11 inches, then scored at 5.5 inches to created my card base. 


For the front of the shaker, I just used my reference rectangle and created a few offsets for the layers.  
I glued the two pieces together and added two layers of foam tape to create my shaker front. 

I used Doodlebug Designs Sequins to fill the shaker.  

(inside of card)

I added clear Wink of Stella to the white frame.  


Supplies:
Papertrey Ink Cardstock
Papertrey Ink Cube
Foam Tape
Dooblebug Sequins
Wink of Stella Brush Pen
Printer


Thursday, May 01, 2014

Personalize Projects with Silhouette and Digital Files by Tonya

It's Tonya, from Scrapping Fun with Tonya, & I have a great way to use your Samantha Walker Silhouette files and Samantha Walkers Digital papers.

I just LOVE how I can personalize my projects with the Silhouette and Samantha's products.  

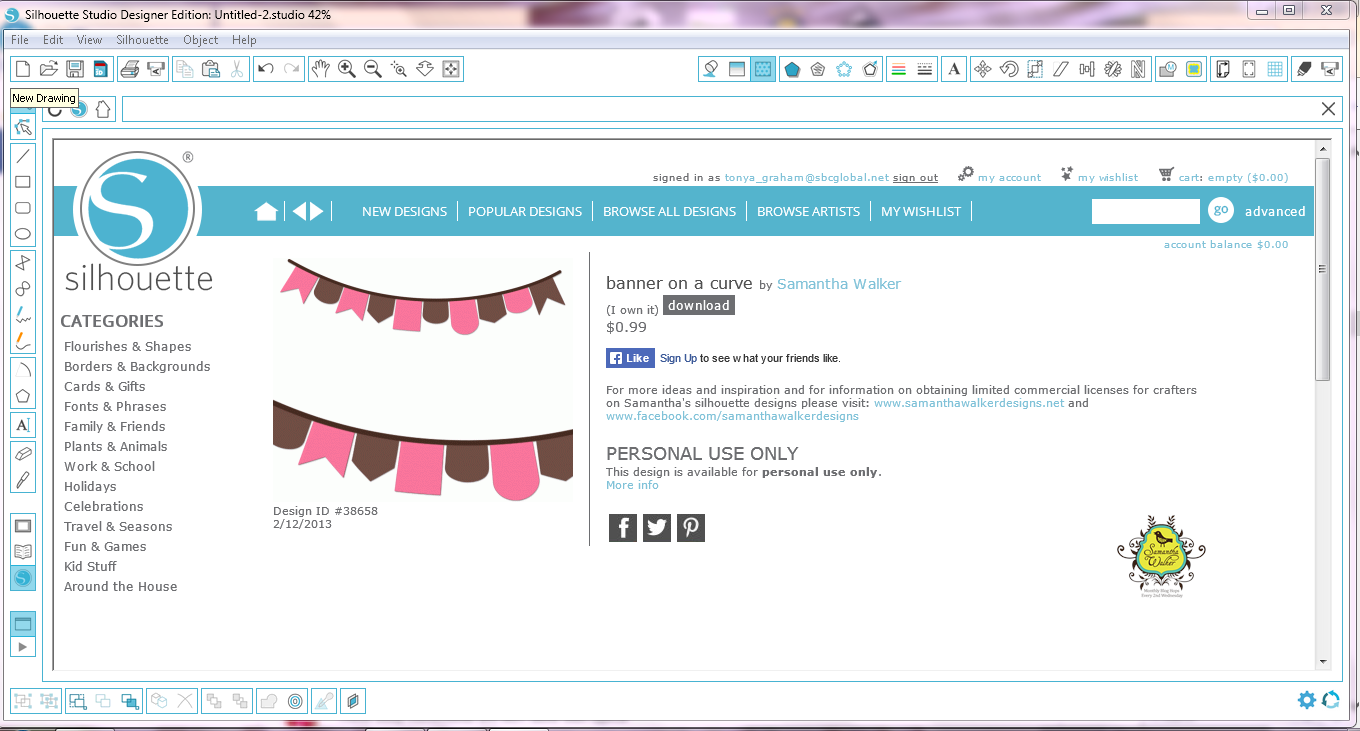
   One of my favorite Samantha Walker files is the Banner on a Curve (Design ID #38658).


When the file is first opened, it is sized for a 12x12 mat, and all one piece.  To be able to manipulate the file, you must first ungroup.  (Click on the image, then click/select ungroup)

 I moved the banner base away from the pieces.  Then next step was to 'release the path.'  To do this, click on the banner pieces, and open the modify window.  While the image is 'highlighted,' click release.  Doing this will separate the banner pieces so that you can alter each one individually. 
 

I wanted to use digital papers from the Samantha Walker Nautical Mega Pack.  With the Silhouette software, you can import your own papers/images. 
Click file...library....import to library.
To fill in the banner pieces, just click on the shape of choice so that it is 'highlighted.'   All papers that are imported are available in the patterns window.  (As you can see, I organize my papers/patterns by artist/collection.)  . 

Scroll through until the pattern you want is found, click, & VOILA! 


 You can adjust the pattern to your liking by using the advanced settings.


I used this banner on a card (see below)...so I regrouped the pieces and resized accordingly. 


To finish, just do a print & cut. 


Here is the card I created with the banner......... 


(Close up of the banner)

I also used more elements from the  Samantha Walker Nautical Mega Pack for the main image (sailboat), the Together 'sentiment,' and the patterned mat.   

For more information on that, please follow my blog and be sure to read my next post.  


Supplies:
Samantha Walker Silhouette File (#38658 & #14232)
Silhouette Cameo
Printer
Recollections Cardstock
ATG Gun


Sunday, March 23, 2014

Pop-up Flower Tutorial with Tonya

Tonya here with my first Guest Designer post for Samantha Walker Designs.  
I am excited to share my ideas and projects with you.   
While looking at other crafter's blogs, I came across a flower pop up card, and thought to myself - 'I would love to be able to make that!'  As I scrolled through the post, I saw the picture of a lily version.  Lilies remind me of my parents.  Lilies are my mother's favorite flower; and my daddy used to send Easter Lilies to me and my sisters every Spring, before his passing in '98.  I knew I wanted to try my hand at a lily version, of my own. 
The instructions in the post show how to cut an 8 petal flower with a die cut machine (she provides a free file), then hand cut to make a 7 petal flower.  Her file provides a rounded petal flower...and I wanted a lily like flower.  I figured I could create a file with my Silhouette software to fit what I wanted.  
With that in mind, I headed to the Silhouette Store to look through Samantha's files.  I did not find a flower file that perfectly suited my needs.  So I thought I could adapt/create one. 
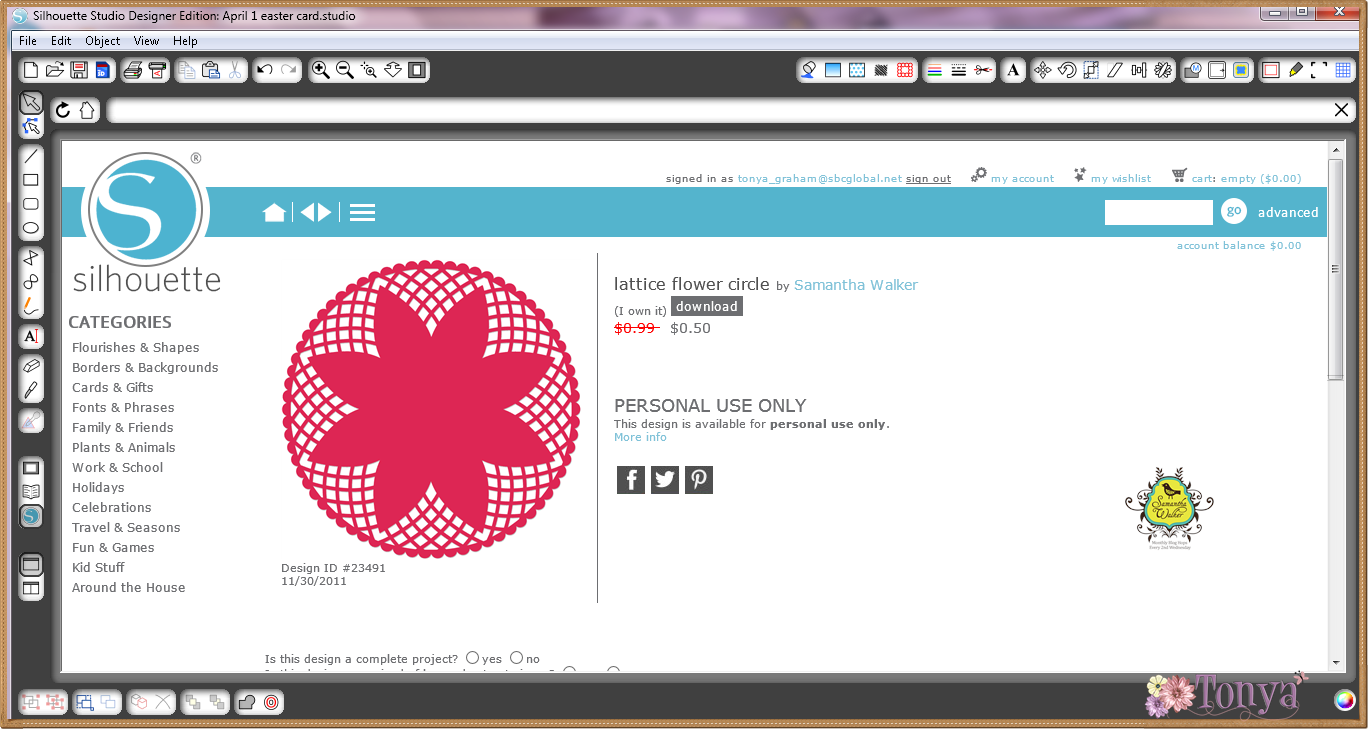
 Samantha's Lattice Flower Circle file (#23491)  worked nicely as a starting point. 
I created an internal offset for the flower outline.  To do this, I highlighted the image and clicked on the offset icon (upper right).  I put the offset distance as 0.150.  This created a more pointed flower petal (closer to a lily petal) and moved the offset away from the image so that it was easier for me to drag it away from the base cut file. 
   
 Next, I moved the offset away from the base file, and deleted the original image. 
  
For the flower, I needed 7 petals, and this one had 8.  I used the knife tool to cut away one petal.  I lined up my curser so that the crossbars were centered between the top and side petals to find the midpoint of the flower, and 'cut' from the center out.

 Next, I created score lines between the petals for folding.  I used the same method as the knife tool above, drawing dashed lines from the center out between each petal.    

To keep the pieces together, I highlighted all the parts and grouped them. 
Since these were to be lilies, I needed some stamens.  I used a stamen (top) from Samantha's Hawaiian Hisbiscus Flowers (#4170).  

All I needed to do was duplicate the flowers to the number needed for the card (7 total), and size the stamens accordingly. 

*Note* - there are 14 stamens in my file, instead of 7.  This is just in case a couple do not cut cleanly or I make a mistake/rip one while embellishing the stamens.  
The stamens are not yellow in the original file.  I tend to 'color' my pieces so when I cut them out, I have a visual reference. 

Here are my flowers - one assembled (center) and 6 unfinished.  The flowers were dry embossed for detail.  I cut the stamens out of the same white cardstock as the flowers.  They were colored with a Wild Honey Distress Marker mixed with water and highlighted with yellow Stickles. 


Related Posts Plugin for WordPress, Blogger...