Ads 468x60px

Showing posts with label Digital Layout. Show all posts

Thursday, October 16, 2014

First Day Layout with Pinky

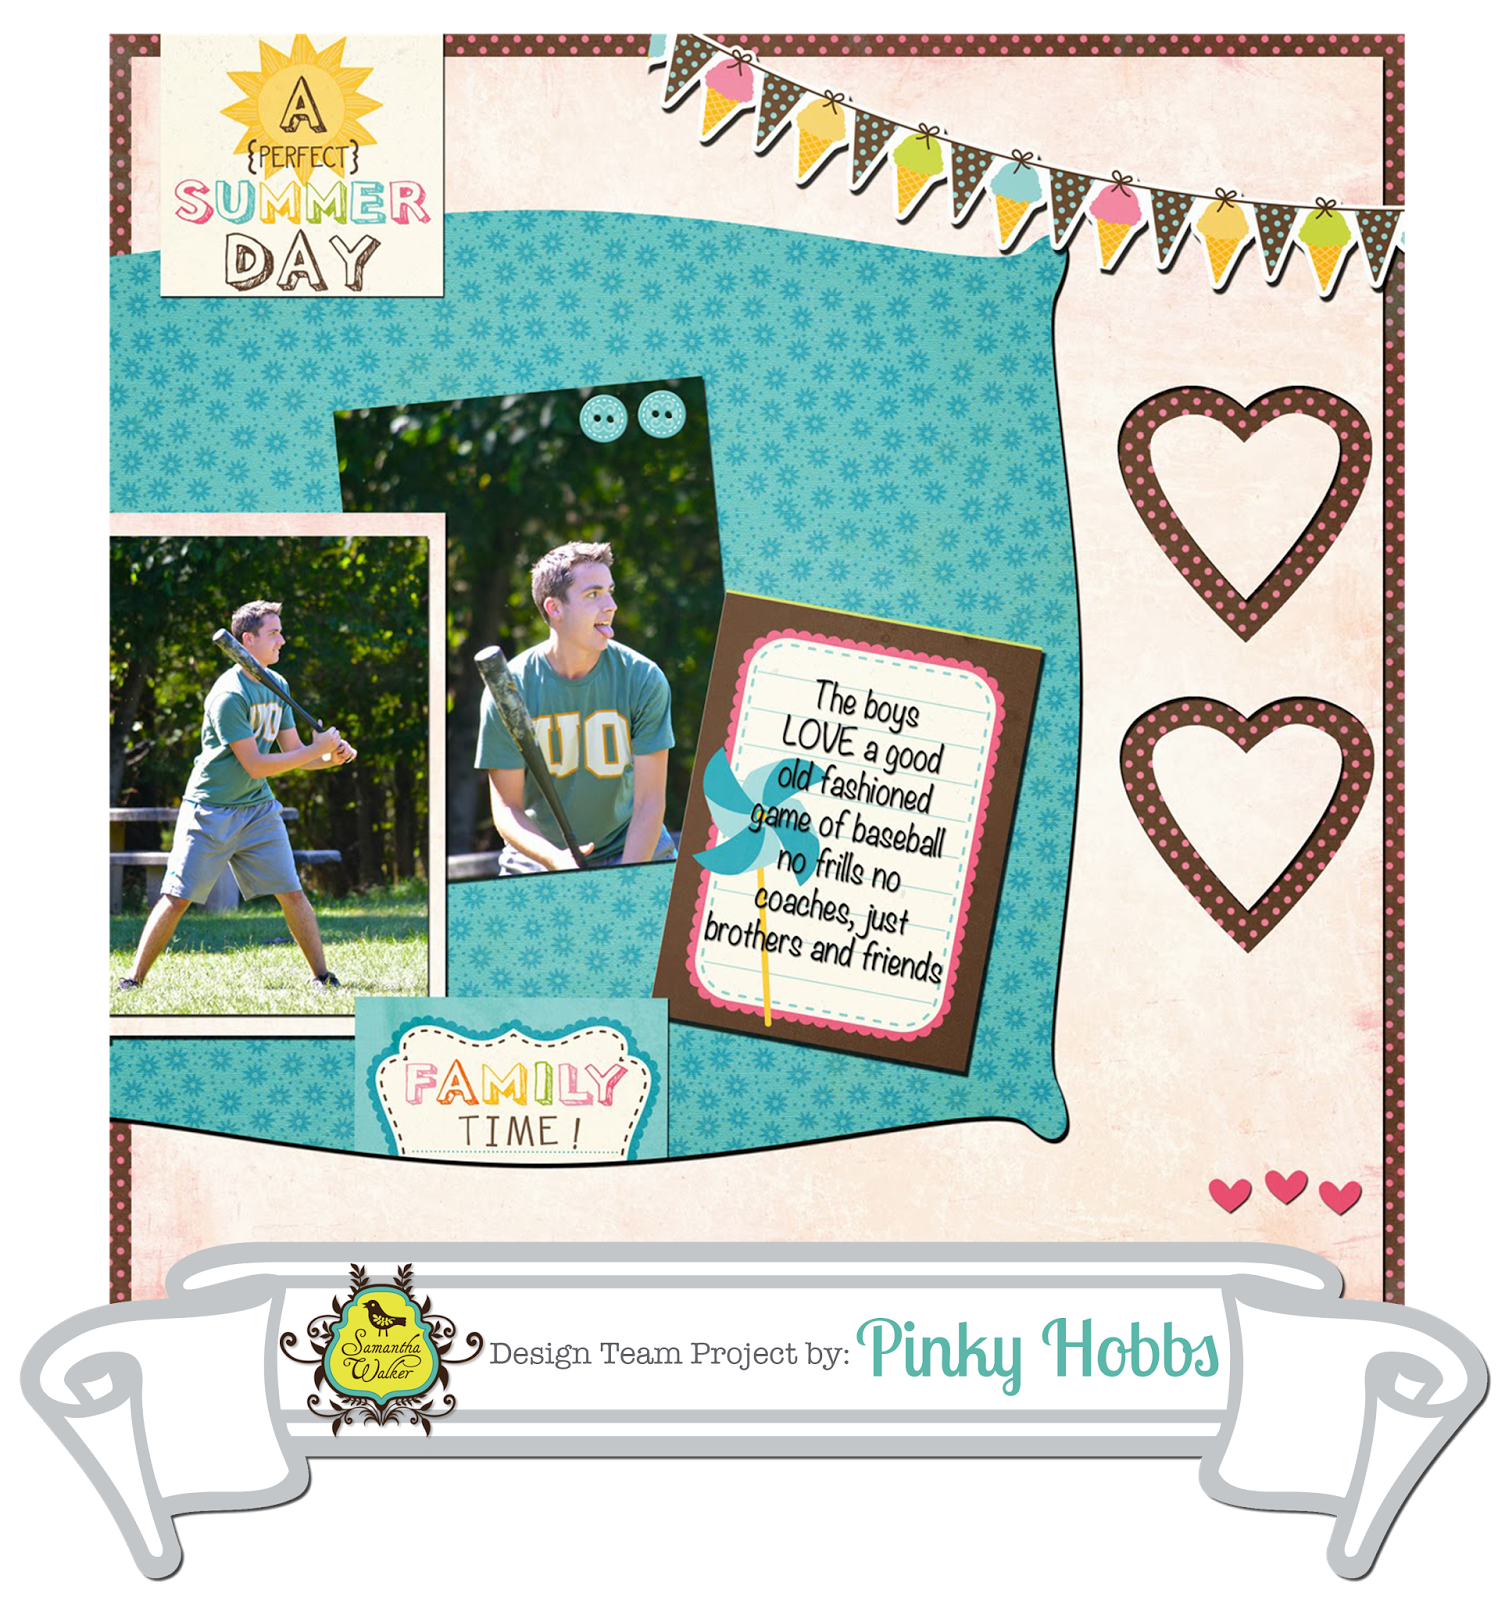
Pinky is back today to share a fun First Day digital layout 


You can find this kit here:

A TO Z MEGA PACK

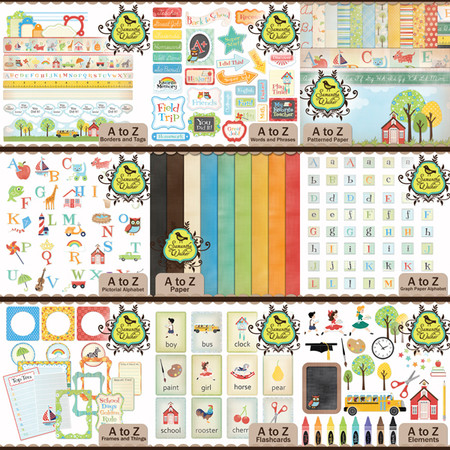
In this pack you will receive the entire A to Z collection...that's 9 digital kits! This mega kit contains 12 flashcards, 8 borders, 5 blank fancy tags, 29 school imagery "stickers", 6 frames, 5 journaling blocks, 30 word "stickers", 82 letter stickers, 16 patterned papers, and 9 solid linen textured papers. This is the ultimate pack for designing your kids school scrapbooks and projects. This kit comes in high res j-peg and png formats. There is not a mega kit option for limited commercial licenses. If you wish to purchase a limited commercial license, it must be done for each kit individually.


Thursday, May 29, 2014

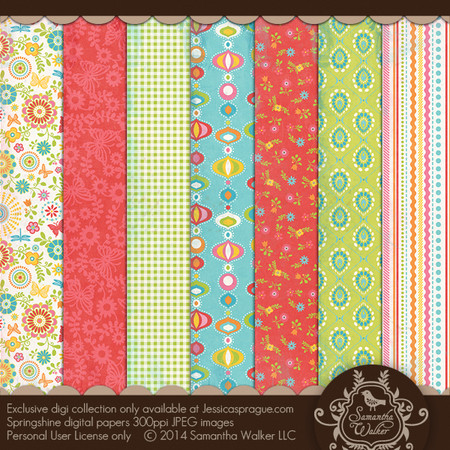
Layouts using Digital Springshine Papers by Chrissy

Good morning!  Chrissy with you and today I am working with 
one of Samantha's latest digital releases, Springshine!  


I love this bright and happy paper collection and it is 
perfect to help document my little one's 6th birthday!


Product Credit-Samantha Walker-SpringShine Papers, Birthday Balloon Paper and Cuckoo Flower, Jenni Bowlin Butterflies, Studio D 300 , and Stitched Heart and ArtStroke by Anna Aspnes


Product Credit- Samantha Walker-SpringShine Papers, Birthday Balloon Paper, assorted masks by Anna Aspnes, and word art by Design by Dani

You can find this paper collection over on Snap Click Supply Co!

Sunday, February 23, 2014

Punching Digital Paper with Pinky!

"Punching Digital Paper!": Using Custom Shape Tools In Digital Scrapbooking

Hey there SW friends,
it's Pinky today and I am so happy to be here!
You know I love to craft with paper, sew with fabric and many
other crafty things but I also love to do digital scrapbooking.

Sometimes it's nice to play with my computer and
just make pretty things but it can also be overwhelming. 
So today I wanted to share how I create "Paper punches" 
using my custom shape tools which are endless for Photoshop.

I am going to share an example by using the Rosie Collection
 but you can see the same results in the layout above using the 

1. Open your base layer and page.
 2. Create a new layer.
 3. Paste new paper onto layer one.
 4. In sidebar find "Custom Shape Tool".
 5. Choose which shape you want.
(All Photoshop programs come with a few to try).
 6. Place Custom Shape Tool design where you want on the top layer.
Size to desired size.
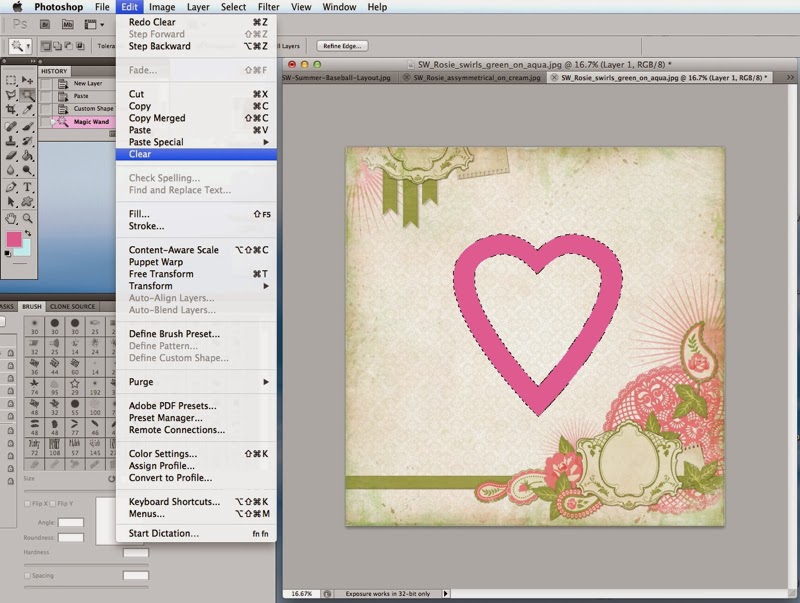
 7. Using "Magic Wand" select shape.
 8. Clear OR Delete shape.
This will leave the patterned paper showing through behind.
9. For more dimension- change style of layer 2- to have a
"drop shadow".
 This creates a paper punched look.
You can also create a beveled look if you change your layer style to
beveled instead of drop shadow.
 Easy and adorable effect! You can apply this with stamps too.
Get ready to DIGI scrap this summer photos. I know I am especially 
in this cold weather, maybe if I scrap it- it will come!

Until next time- Keep on creating!


Tuesday, December 24, 2013

Moments with Claudia Harvey

Hi everyone. Claudia here. Its Christmas Eve! Can you believe it?
I am so excited to share a very special moment with you.
Today I am going back to my digi scrapper roots, using one of 
my all time favorite kits, Rough & Tumble.


I created my layout using Samantha's digital kit. These photos were taken earlier this year at Disneyland in California. We are so blessed to be celebrating Christmas at Disney World this year; we are excited to make more memories like these.
I love that this kit is also available for all you paper scrappers too!
For additional information on digital scrapbooking, check out this book.
Merry Christmas and Happy New Year!

Lots of happy hugs,

Saturday, August 31, 2013

Summer Memories with Claudia Harvey

Hello everyone. Claudia here. Its Labor Day here in the U.S., and my family and I are enjoying a weekend away camping on the last official weekend of summer vacation for my boys; they go back to school on Tuesday.
I am so delighted to share this layout with you. My family and I went on a cross country road trip this summer, and I couldn't wait to start scrapping! I wanted a layout dedicated to our cute little camper, Dory, with pictures of some of the places we visited.
Some of you may remember my vinyl tutorial from July, using Samantha's cute little camper silhouette file on the side and back of our camper; you can see it HERE; it also tells the story about how the camper got its name. Our road trip was such an amazing adventure; we saw so many things along the way. My personal favorite was Mount Rushmore; Yellowstone National Park and The Grand Canyon were simply breathtaking. We even made it all the way to California, and visited Disneyland and the new Cars Land; having four boys, Cars Land was a must! Just like walking in to the movie!
For my layout, I used Samantha's Retro Road Trip collection; it was just perfect!

If you look closely, I have also placed a Hidden Mickey within the layout; if you don't know what that is, its just a plain Mickey head that Disney hides around the parks. We love searching for them whenever we visit; its fun to see how creative they are in making them a part of landscapes, sidewalks, lampposts, etc.
My family loves searching for them within my layouts whenever I add them too.

Do you see it in my layout?

Until next time.

Lots of happy hugs,

Additional product used:
Sample Pack 12 Templates by ChrissyW Design
Skinny Stitches Shapes by Scotty Girl Design

Sunday, August 25, 2013

You Are Beautiful by Chrissy Guido

jossandmain.com home furnishing
Good Morning!

Today I would like to share a layout using some of Samantha's masks that I have used as brushes in Photoshop to create texture.  For this layout I used several Damask masks as well as the Cuckoo 4 U Strawberry Love Collection.


I love to use these fun masks to add depth and texture to layouts. I also have layered several papers in this project, adjusting the opacity and masking them in multiple layers. 

Have a great day!
Related Posts Plugin for WordPress, Blogger...