Ads 468x60px

Showing posts with label Tags. Show all posts

Tuesday, September 17, 2013

Flower tag by Daniela Dobson

Hello, Daniela here with a tag.

Samantha Walker products:

1. Open 4 flower pack in your Silhouette Studio. Click on the designs to select them and right click to ungroup. Be very careful now since all the pieces are separated.
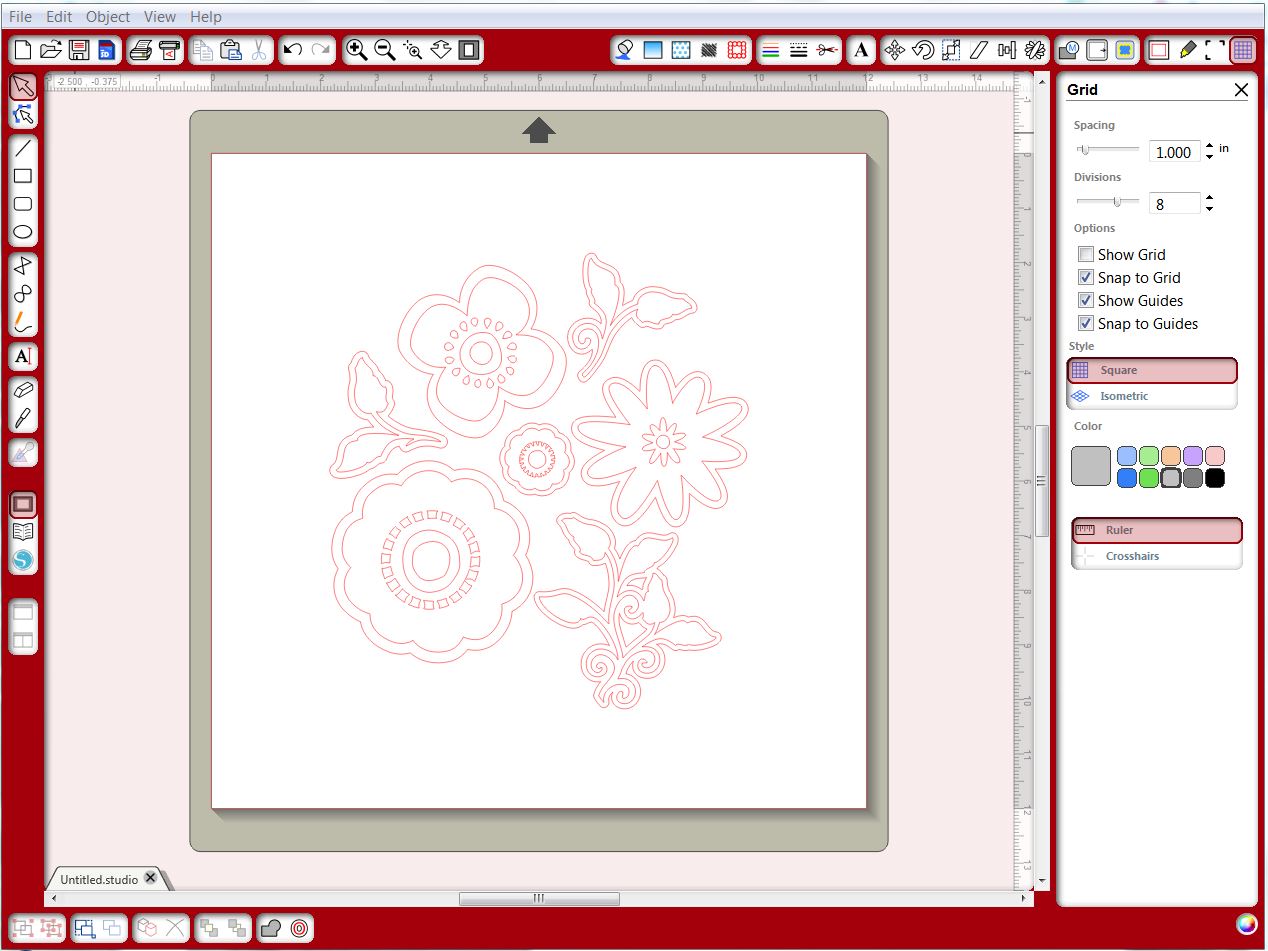

2. I selected the right flower and the leaves below, right click and cut. Open a new document and right click and paste. Once you are here, in your new document you can separate all the elements. I resized them to 2.25". Make sure you select all the elements and resize them all together so everything is the same size. 


3. Once all the pieces are cut, from white cardstock, color the flowers and leaves with watercolor paint.


4. Once the flower are dry, stamp them using Leafy Background stamp. Using light color ink adds little more dimension and texture to the flowers. 


5. Make a tag from patterned paper and ink all paper edges. Add other embellishments. Layer the flowers together with leaves and other elements. 


6. Add ribbon to the tag, twine to the flower and pearls to the tag.

Thank you for stopping by today!
Here are some supplies that you can use to make today's project, and other fun stuff.
 

Tuesday, August 27, 2013

Advice for the Graduate by Jamie Cripps

Good Morning!  Jamie back with you and today sharing an entry way piece I created using Samantha's Key Silhouette Cut and Lace Top Tag Silhouette cut for a Graduation party!


This will sit beside a large metal tree so guests can write their "keys to success" or their special wishes for the graduate on the tags and then hang them on the tree!

I started by cutting 9" lengths of the Light Blue Double-Faced Satin Ribbon and then tying them in bows.  I trimmed each of the ends at a slant.
I cut the tags and keys with my digital die cutting machine.

To create each tag:
1. Place a 5" piece of twine through the top of the tag.
2. Place your satin bow in the middle of the twine and tie the twine around the bow.
3.  Place the key through one end of the twine.
4.  Tie a knot in the top of the twine to hang.

I cut out Lori Whitlock's Flower Pot with Tray to hold all the tags.

Supplies:
Die Cuts: KeysTagsHolder (Silhouette)
Ribbon: Light Blue Double-Faced Satin Ribbon - (Ribbons Unlimited)
Cardstock: Neenah Natural Linen, Basic White, Basis Navy (CutCardstock.com)
Sticker: Graduation (SRM)

This project could be adapted for an anniversary party, bridal shower, 
or even advice for new parents!

Thanks so much for stopping by today!

Here are some supplies that you can use to make today's project, and other fun stuff.
 
Related Posts Plugin for WordPress, Blogger...