Ads 468x60px

Showing posts with label Cupcake Boxes. Show all posts

Tuesday, October 14, 2014

Tutorial: Peaked Roof cupcake boxes for your Silhouette cutting machine

This week I uploaded peaked roof cup cake/gift boxes into the Silhouette online store. You will find a few options within the files to create a box that is just right for you. There are two options for the bottom of the box. One would be better for cupcakes, and has a dip on one side so the cup cake can go in and out of the box easily. You will want to cut the cupcake base holder if you use this option. The other box bottom does not have a dip and would be better as a gift box. There are optional contrasting panels that you can use underneath the cut part of the design. You can use the box without these panels as well. The elephant box above is an example of using contrasting panels on the sides and on the peaked roof. The other boxes above only use panels underneath the roof.

For these projects you will need this Equipment:
A Silhouette Electronic Cutting machine. This file works great with both the Silhouette Cameo and the Silhouette Portrait cutting machines. If you use the portrait machine, you will need to rearrange the pieces to fit in your cutting area. To move the pieces around individually, ungroup the file under edit.

For those of you who are new to my blog, and may not have heard about the Silhouette electronic cutting machine(the machine I used to cut this file out,) I put together a product review at this link. You can read other's reviews of the machine here. This machine will change the way you craft, and most importantly, you will get lost in the fun of it all!

Adhesive:
Glue (use a good paper glue like Tombow mono liquid glue it will not warp your paper.)
-and/or-
Double Sided adhesive. (I use a Scotch ATG 714 gun. Scotch got smart and made a similar one for crafters the Scotch Cat 085--it's quite a bit less $ than the 714. I like that it has a seemingly endless roll of adhesive. It saves a ton of money in the long run when compared to little craft adhesive dispensers. Especially if you buy the adhesive reels in bulk.)

You will also need these Silhouette Files:
(links will appear here as they appear in the silhouette store.)

Here are some step shots to guide you through the assembly process:

Thursday, September 19, 2013

Introducing Guest Designer Kerri Smith!


Good Morning!  
Today we would like to introduce you to our 
September Guest Designer, Kerri Smith!

* * * * * 
Hey Crafty Friends-

I am THRILLED to be guest designer this month for Samantha Walker. Let me introduce myself to all the new friends that may be visiting the blog today. My name is Kerri Smith. My little blog is Craft Time and Cupcakes. I am wife to my retired Air Force husband and mommy to two beautiful princesses, ages 4 and 5. I am a Southern California girl living the Vegas life and I love it! I have always been a creative person. I love every type of craft imaginable. I am a scrapbooker, baker, party planner, and I'm beginning to work more with fabric too. I would say my crafting style is a little bit country, a little bit cutesy, and a lot of fun. I believe projects should be quick, simple, and stunning.  I was so happy working on my project for today.......so let's get to it!

 I'm sure that many of you with a Silhouette love to shop Samantha's cutting files as much as I do. For today's project I decided to do something that sticks with the theme of my blog.......A cupcake box! 

I used the Cupcake Scalloped Box cutting file. I cut the pieces from craft cardstock and a blue and red floral cardstock.


I folded all of the perforated lines then glued the tab of the craft cardstock piece to the floral cardstock to merge the top and bottom of the box together. I then glued all the remaining tabs to complete the box.


Once it was all together I jazzed things up a bit by inking up the edges using Tim Holtz Distress Ink in Festive Berries.


I then placed the circle insert inside the box and added my yummy cupcake.


The final touch to my project was a red gingham ribbon tied around the box to hold it all together.


I couldn't be happier with how this project turned out. The file was so easy to cut and put together. I can see making these boxes for every holiday, teachers gifts, birthday parties. They will put a smile on any one's face when they receive this special little gift.

I want to say a special thank you to Samantha Walker Designs for letting me guest design this month. For more inspiration please follow my blog at http://www.crafttimeandcupcakes.com/. You can also follow me on Pinterest and Facebook.

Have a great crafty day!

Kerri


Saturday, February 09, 2013

Samantha Walker’s No Mess Scalloped Cupcake Box and How to Make Double Sided Paper

Hi everyone! I am Linda from Paper Boutique and I am so happy to be here today.  I love Samantha Walker’s designs from the on-line Silhouette store and her amazing digital papers.  In today’s video tutorial, I demonstrate how to assemble Samantha’s No Mess Scalloped Cupcake Box.  I also demonstrate how to make double-sided digital paper using her gorgeous Paris Girl Digital Collection.


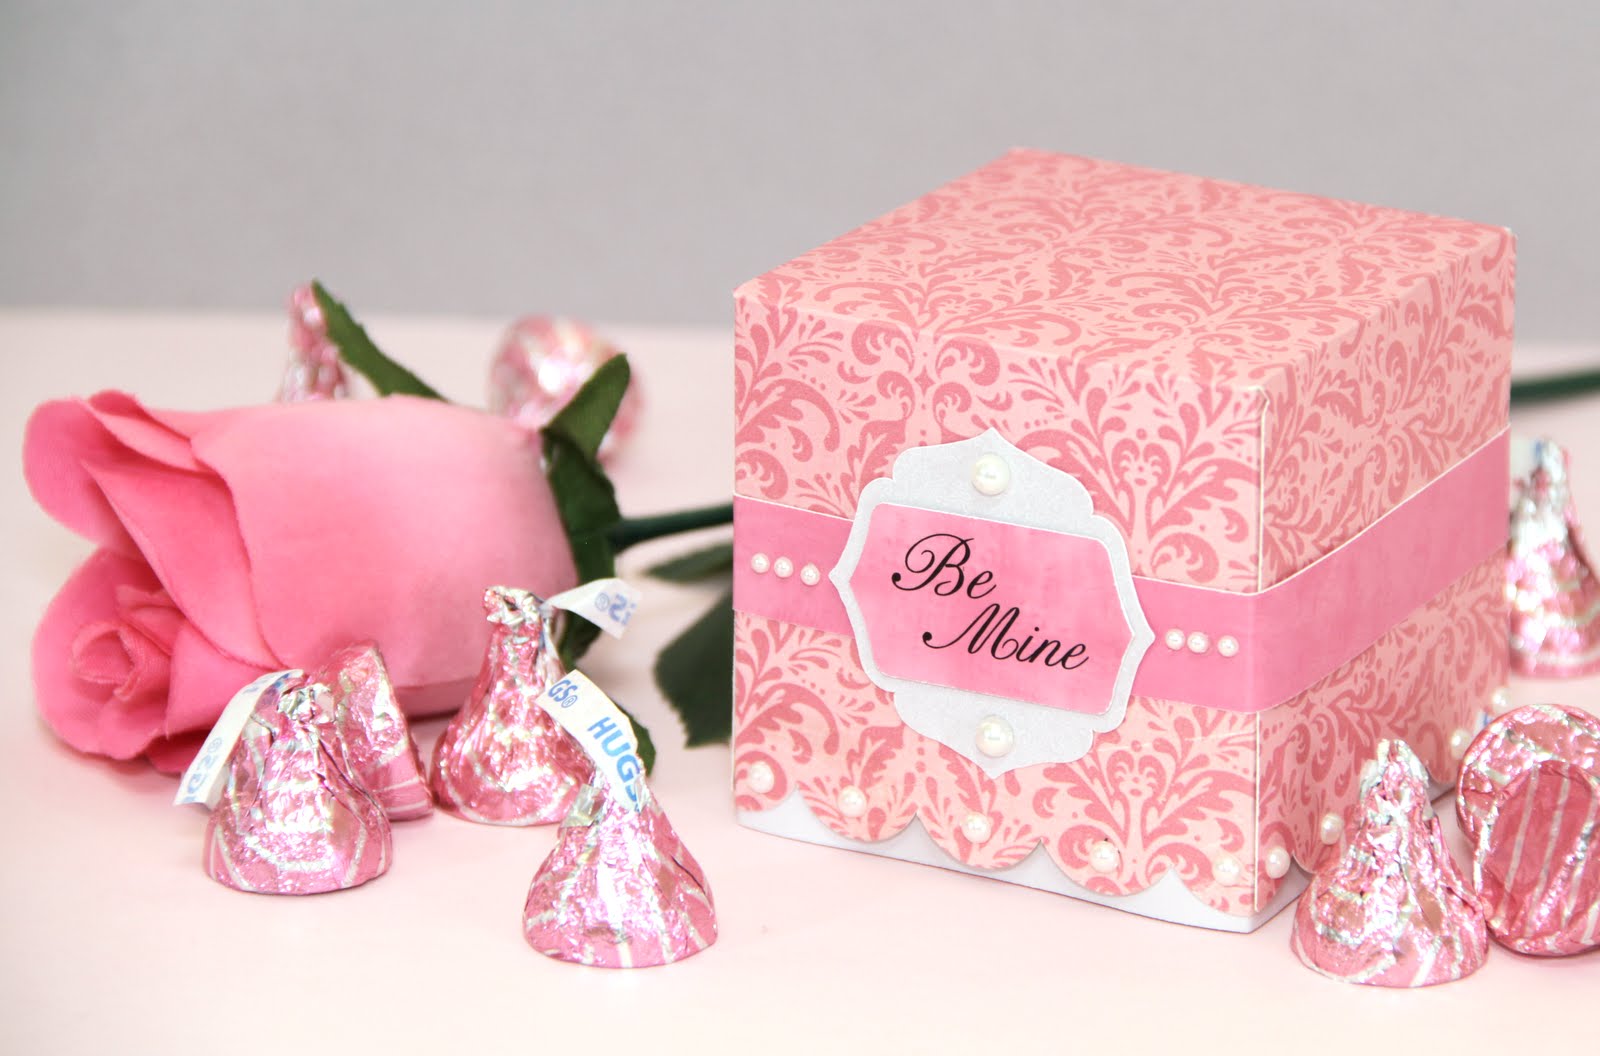
I love the versatility of this design and what a cute Valentine’s gift!


I just love Samantha’s Paris Girl Digital Collection.   Be sure to watch the video below to see how I made the double-sided paper for the box.


You can use the cupcake box with or without the insert. This adorable box also works for brownies or other treats. Yahoo!  Hope you enjoy the video.


Have a wonderful day!

Linda
Related Posts Plugin for WordPress, Blogger...