

Patterned paper from my Traditions collection for Carta Bella

Patterned paper from my Giddy Up! collection for Carta Bella
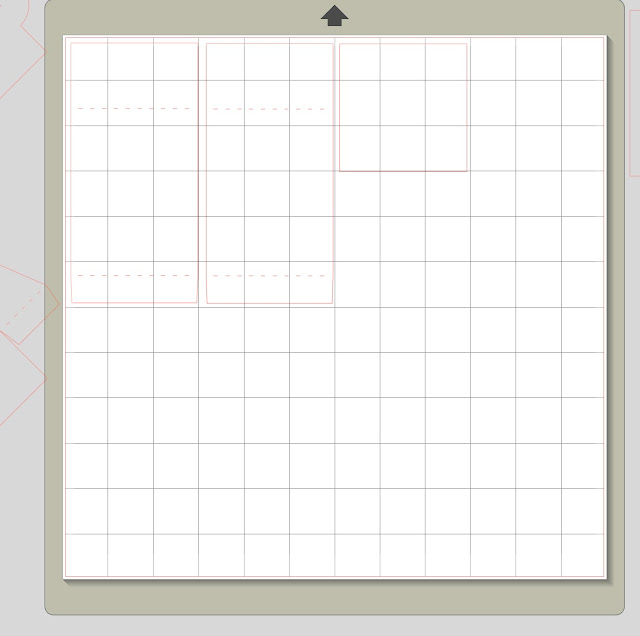
This week in the Silhouette digital download store, you will soon find a few different versions of this triangle surprise box cutting file. This design can be cut with the Silhouette Portrait or Cameo machine. If you cut with the Cameo, it is already sized on a 12X12 mat.
(These are maximum sizes...they can always be sized down.)
Cameo cut rectangular box approximate finished size will be 3 X 3 X 3 3/4
Cameo cut square cube box approximate finished size will be 3 X 3 X 3
For cutting this shape on the Portrait machine, you will need to size it down to fit within the 8.5 X 11 cutting area.
Portrait cut rectangular box approximate finished size will be 2 X 2 X 2 1/2
Portrait cut square cube box approximate finished size will be 2 X 2 X 2


Here are three methods for cut and paste in the Silhouette Studio software (choose one method):
Select the object you want to copy then use the keyboard commands ctrl c, then ctrl v.
Select the object you want to copy then go to "edit" in the top bar and select Copy and then Paste from the drop down menu.
Or select the object you want to copy, while it is selected, hold down the "alt or option" key on the keyboard while dragging your selection with the mouse.
All of the above methods will get you the same result of duplicating the selected object.

Now that you have these pieces cut, find the main box piece and the optional
contrasting triangle window pieces.

Glue them down over the triangle areas of the main box piece.
Now move the triangle into the live cutting area. You will need to cut two. So you will want to copy and paste a second triangle into the cutting area using one of the methods mentioned above.

I chose to cut mine out of acetate to create a fun clear window.

Glue the acetate triangles onto the inside of the main box piece.
Please note, this part does not have to be used. You can just use the outer triangular sides to fold in if you want. However, if you put a treat in the box like jelly beans, they will spill out when you pull down the triangular sides. This can be a fun presentation if this is what you are after. To fill a box without sides, close one triangular side, then lay the box down on that side. Fill the box, then close the other triangular side. Now you can turn the box upright and tie it with a ribbon until the recipient gets surprised with the contents spilling out.

If you chose to use the rectangular interior sides, glue them at the fold line,
so the tab edge is glued to the bottom of the interior of the box.

Notice how the folded edge of the interior rectangular sides,
lines up with the fold line at the bottom of the box.
This is where they should be glued.

Fold the triangular exterior sides.

Glue the triangular exterior sides.

Glue the square piece onto the bottom of the interior of the box.

To close the box...
Pull up the triangular window sides, and attach the half moon tabs.
Then pull up the interior rectangular sides (if you used them.)
Lastly pull up the exterior triangular sides.

And there you have it...
a very unusual box for any occasion!
Happy Crafting!
Samantha


No comments:
Thanks for taking the time to leave a comment! Without your readership, I wouldn't be doing a blog.
My blog is supported by sponsors and affiliates. If you decide to make a purchase through my affiliate links, I am paid a small commission for it. This doesn’t cost you anything additional. These commissions help to keep the rest of my content free, and allow me to blog more often.
From time to time I make recommendations of products that I love to use, or products that I have designed. Occasionally, manufacturers send me products to play with. They have not obligated me to show them on my blog or review them. I only make positive remarks about those things that I truly love and enjoy to use. Everyone's personal experience with various products may be different, as we all use things in different ways. I am not compensated for these remarks, and merely pass on my opinion to you as a reader. I hope you find my opinions valuable.
Thank you for supporting my blog!