
I love creating 3D projects and today I am going to walk you through two of my most favorite Holiday Ornaments! These are perfect for packages and look fabulous hanging on the tree! What is even better is that these Holiday Ornaments can be cut digitally which makes them super quick!
I am going to start with Samantha Walker's 3D Snowman Ornament!

1. Cut out the 3D Snowman Ornament on cardstock of your choice.
2. Fold each cut on the score mark.
3. Take a set of four and set the others aside for now.
4. Place adhesive on one side of each snowman cut. Adhere two of the scored sides together.
5. Add in the other sides the same way until all four pieces are together.
6. Grab your other set of four and add adhesive on one side of each of the snowman cuts like you did above.
7-9. Continue to adhere the scored sides together until all pieces are gone.
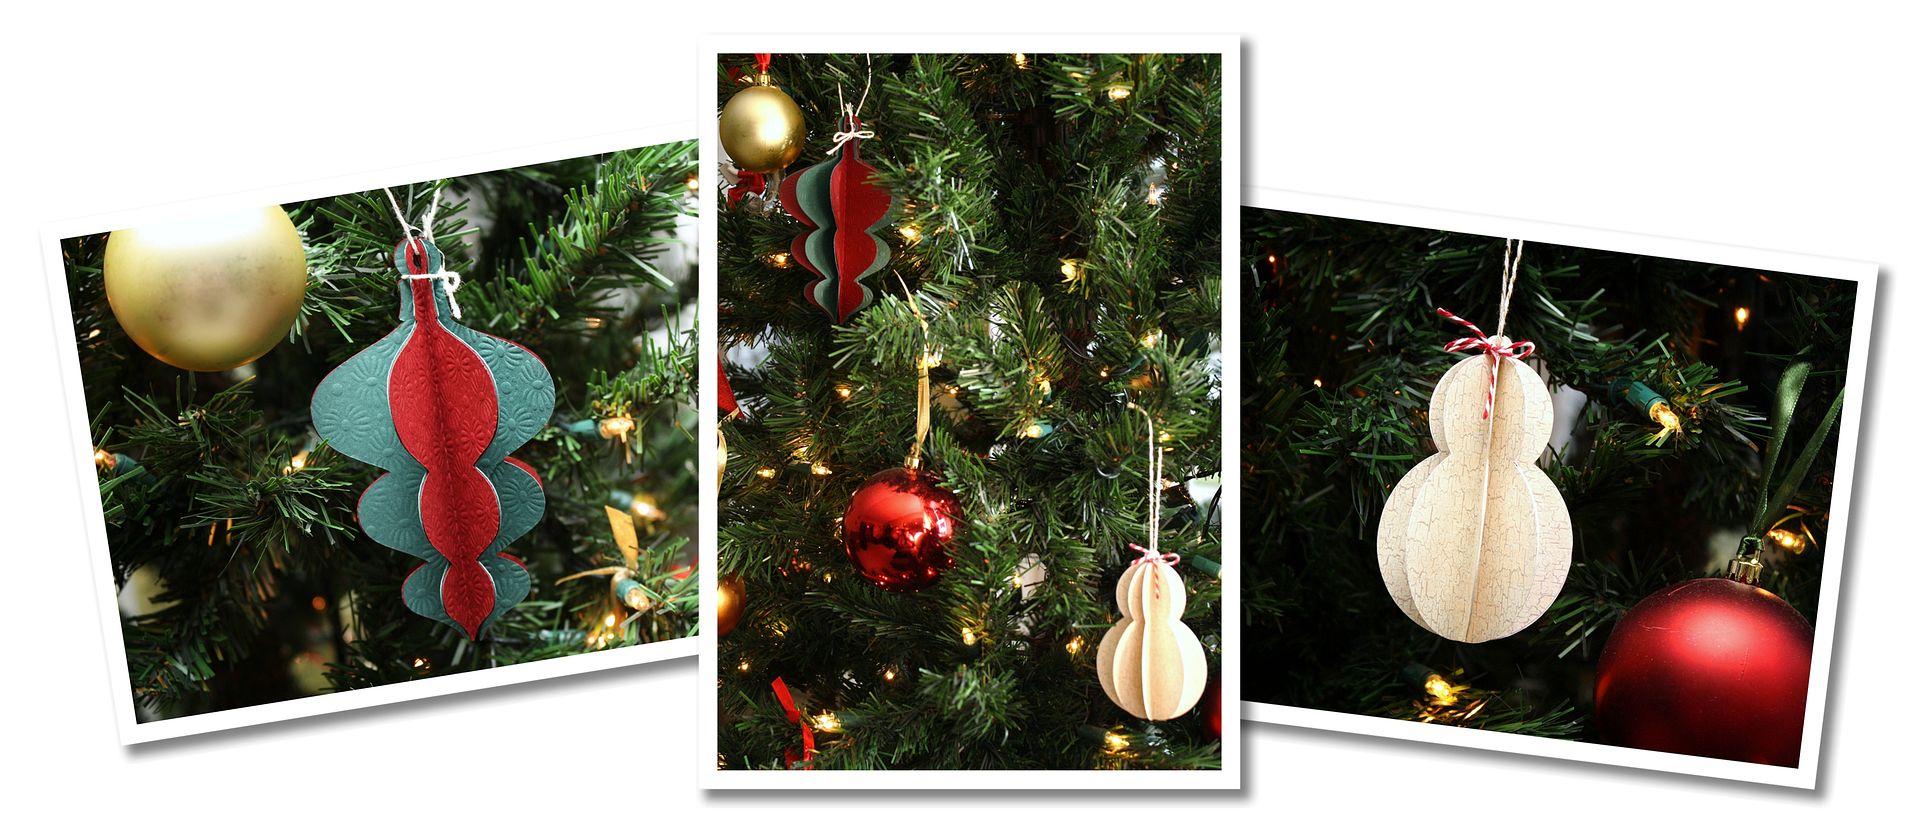
10. Your finished snowman should look similar to this photo.
11. Add in twine or ribbon to hang.
Next I am going to be putting together the 3D Ornament
using two different cardstock colors and add some embossing!

1. Cut out the 3D Ornament on two different cardstock colors of your choice. You can also use the same color cardstock for a solid ornament.
2. Fold each cut on the score mark.
3. Gather the Sea Flowers Grand Impressabilities Embossing plate.
4. Take a set of four ornament cuts and unfold them and place them on the embossing plate.
5. Place the tan embossing mat on top of the ornament pieces.
6. Then place the pink B plate on top.
7. Run your "sandwich" through the Grand Calibur.
8. Crease the ornaments so the embossed side is in the inside.
9. Repeat steps 4-8 with the other four ornaments.
10. Your ornament pieces should look like this.
11. Place adhesive on one side of each ornament cut. Adhere two of the scored sides together.
12-16. Add in the other sides the same way until all the pieces are together.
17. Your finished ornament should look similar to this photo.
18. Add in twine or ribbon to hang.

Have you made any 3D Ornaments this year?
We would love to stop by and see, just link us up in the comments!
Thanks so much for stopping by!


These are so cute! And they look really easy to make! Thanks!
ReplyDeleteLove them. Can't wait to make some.
ReplyDeletethese are so gorgeous Jamie!!
ReplyDeletethese are so gorgeous Jamie!!
ReplyDelete